
OK, back to the radio pile - see posts below.
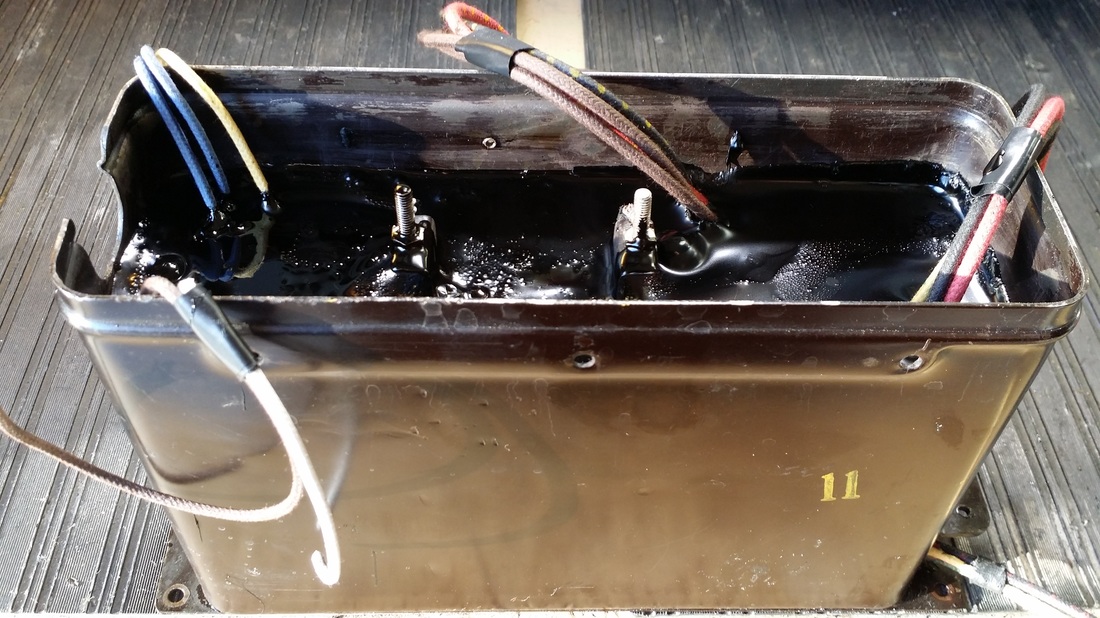
Among the other radios were two AK 57s often referred to as "Little Stove" radios because of the metal cabinets and the resemblance to an old wood or gas stove.
One was in good shape with the Victorian style legs (like ;-)). The other had been painted a festive red and green and had strait legs. As attractive as the red/green one was, I decided to stick with the stock color example for restoration. From the two, I could come up with most of the parts needed.
Between the two there was only one good speaker cone, both had open primaries on the second audio interstage transformer and both magnetic/reed speakers had open coils. The rest of the restoration was pretty much standard for an AK 40 which uses the same chassis, though the ser. plate is marked 57. The tube complement being RCA 226, 226, 226, 226, 227, 171, 280.
Interstage transformers are no problem. It seems that every AK metal-box radio that I have worked on need one or both replaced/rebuilt. The speakers, which are the same or similar to an E2 were going to be a problem lacking a good coil.
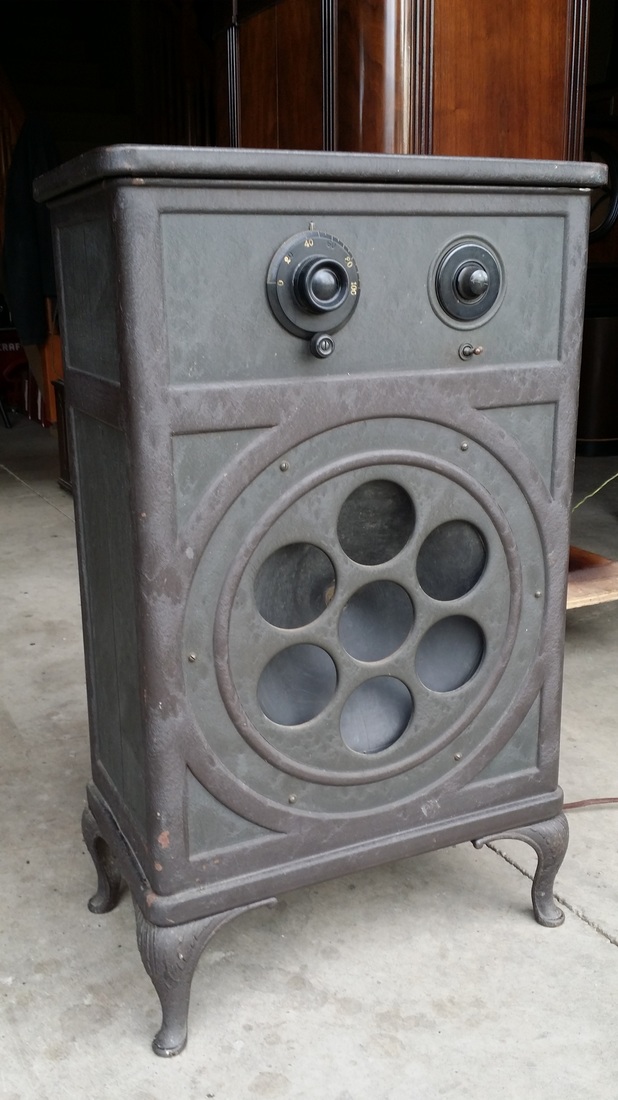
These coils are high impedance and similar to those found in Crosley Musicone speakers of the time. Winding a new coil is usually not a problem but these use a small rectangular form that won't fit my coil winder. So I had to first make a jig on which I could both build a coil form and wind a new coil.
These coils are high impedance and similar to those found in Crosley Musicone speakers of the time. Winding a new coil is usually not a problem but these use a small rectangular form that won't fit my coil winder. So I had to first make a jig on which I could both build a coil form and wind a new coil.

The original coil was layer wound using #42 or smaller magnet wire. Since I was going to have to bulk wind these using a drill #39 was about as small a wire as I could expect to use with out a lot of breakage/splices. The original coils were at least 1K ohms, probably closer to 2K ohms. So the challenge is to get as much wire on the form as possible.
Original and new coil, still on jig
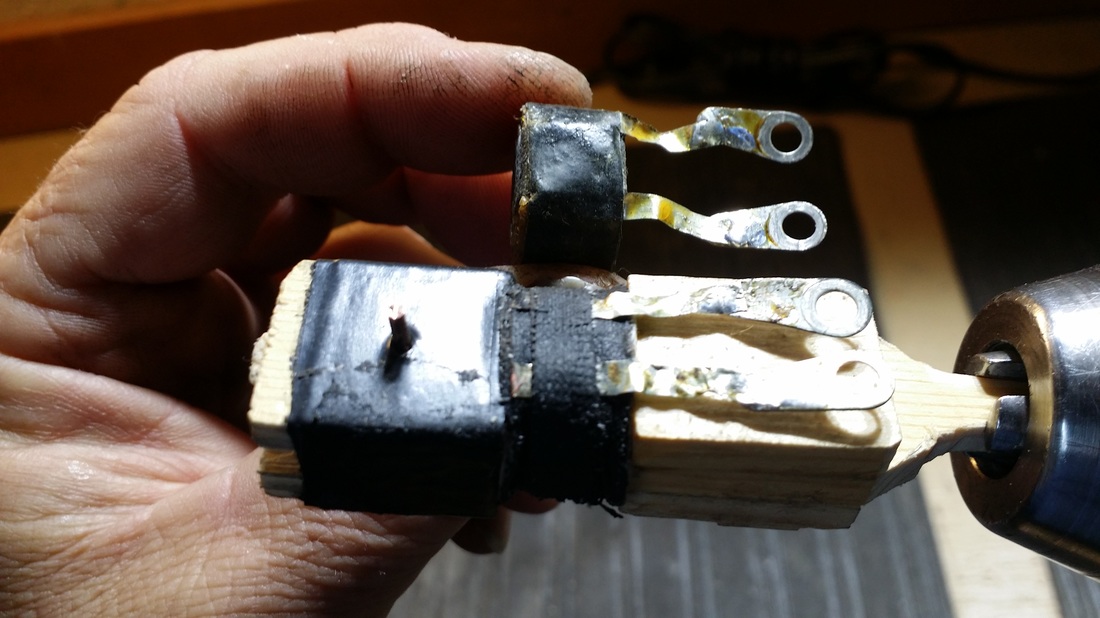
Magnet structure/with new coil installed in the factory bag (right) and an AK E-3 cone - which this driver will not fit (too large). Cone used as example.
After a few modifications I was able to wind three of these, one for the project, one for the second/spare driver and an extra for future use. I have found that making an extra is better than having to get the process down again at a later time.
Having the biggest obstacle out of the way - in my mind, anyway - I moved on to the power supply. Not that melting the tar out of one of these supplies is easy, but, I have done it about 40 times or more on various models and the AK 40/42/57 supply is the easiest.
Having the biggest obstacle out of the way - in my mind, anyway - I moved on to the power supply. Not that melting the tar out of one of these supplies is easy, but, I have done it about 40 times or more on various models and the AK 40/42/57 supply is the easiest.
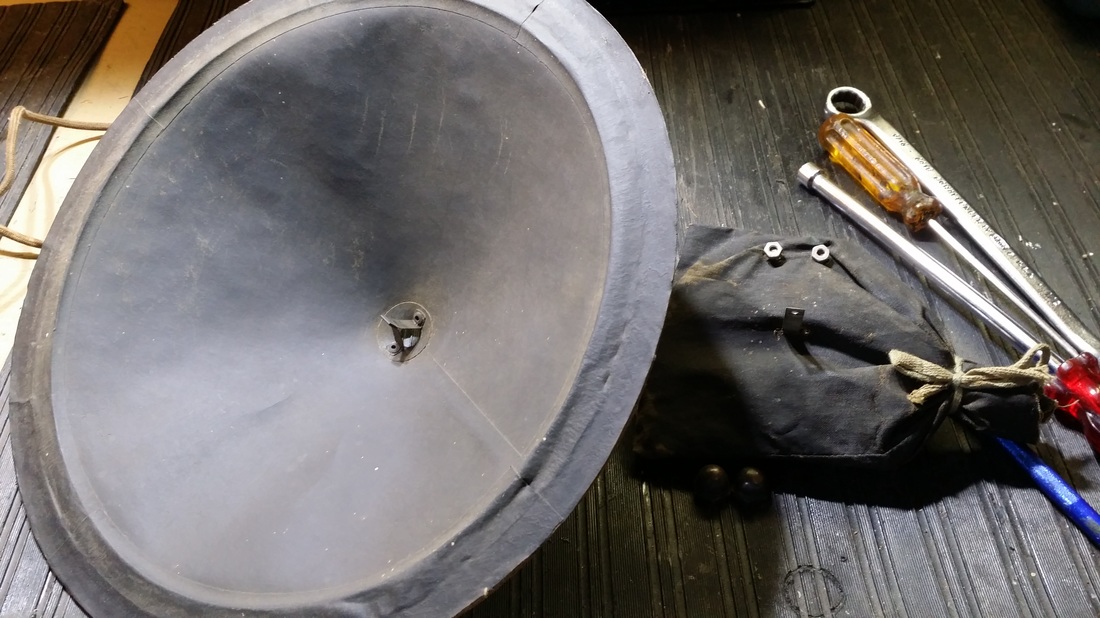
Repotted AK power supply
The difficult part of de-potting the original supply is removing the power transformer and the 3 chokes (one is 2 windings on one core) without pulling the wires/connections off of the coils. Temperature/time is critical. Too much heat for too long is bad for the coils not to mention the paint on the metal box, which I wanted to save.
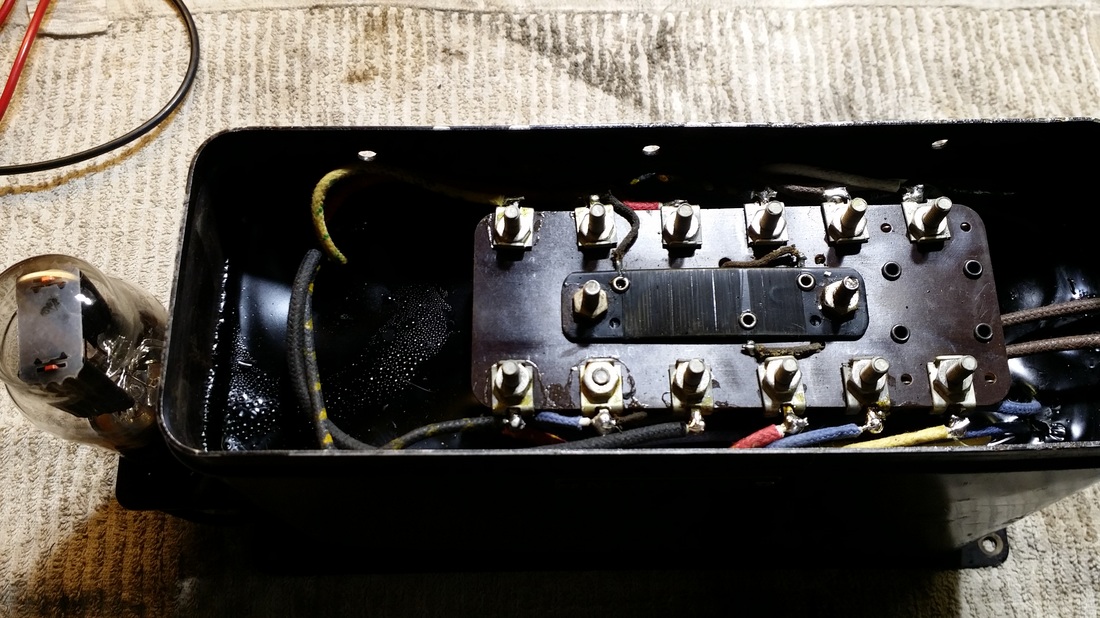
Cable connector/voltage divider board installed
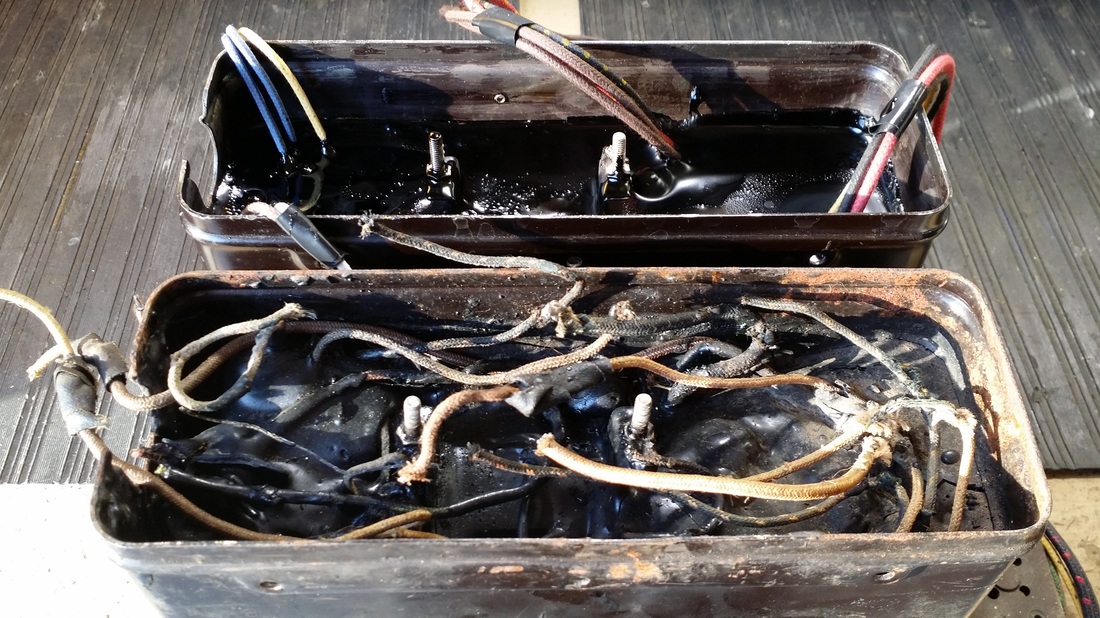
Original and rebuilt supply comparison
Besides needing new filter capacitors ALL of these need new wire as well. The old wire is just not safe. Even on later AK models like the 145, 206, 447 I pull out the power transformers (not potted) and remove the bells to replace the original wire, AND I have never had an AK power transformer fail in service.
The filter capacitors are replaced with 630 volt Mylar or metalized film caps, much like the originals and likely to last a long time as compared to 450V electrolytics.
The filter capacitors are replaced with 630 volt Mylar or metalized film caps, much like the originals and likely to last a long time as compared to 450V electrolytics.
The audio is in no way high-fidelity and it is easy to overdrive the speaker on strong stations, but, it does sound much better in person as compared to the video above.

 RSS Feed