RUSS' OLD RADIOS
  • HOME
  • FOR SALE
    • CURRENTLY AVAILABLE
    • DO IT YOURSELF SPECIALS
    • EXCEPTIONAL DEALS
    • WITH MP3 PORTS
  • RESTORATION
  • BLOG
  • BEFORE/AFTER
  • CONTACT US
  • UNIQUE RADIOS
  • 1920'S Superheterodyne

HERE'S LOOKING at YOU (he's looking at you)

8/27/2014

2 Comments

 
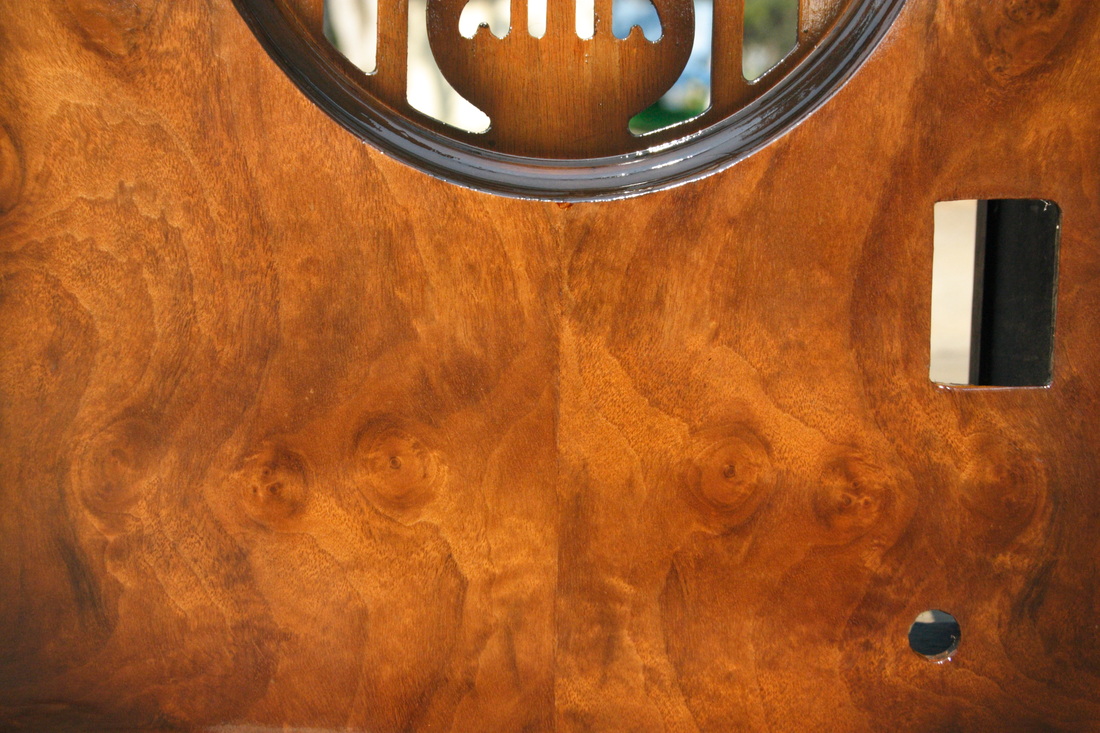
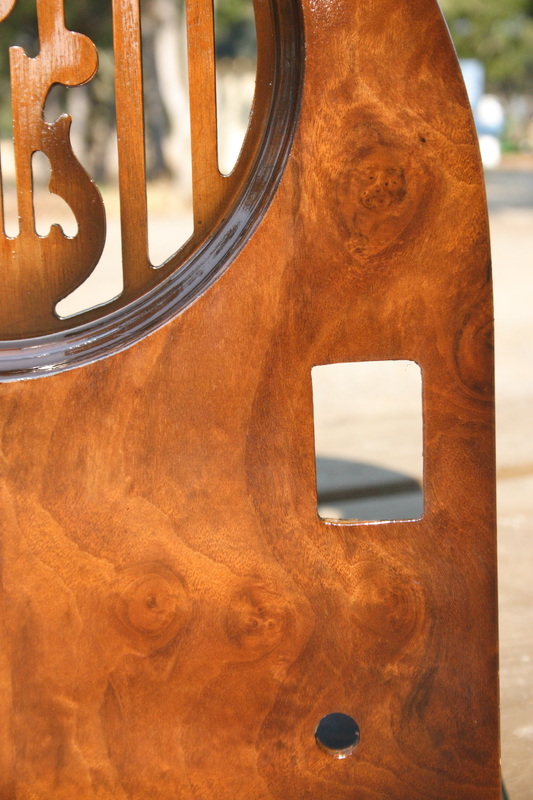
Have you ever heard someone say "It just spoke to me"?  Well I can't say that yet. No voices of Rush L. directing me to march against the forces of evil. But - - -  Take a look at this radio.
Picture
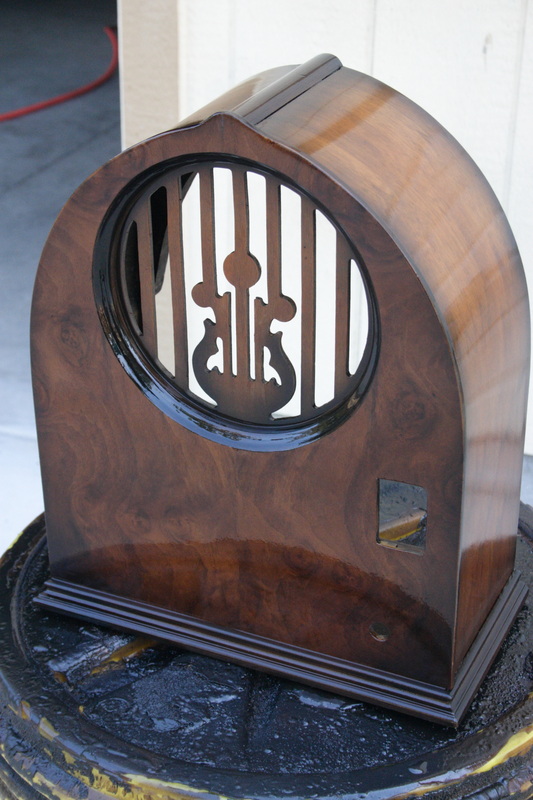
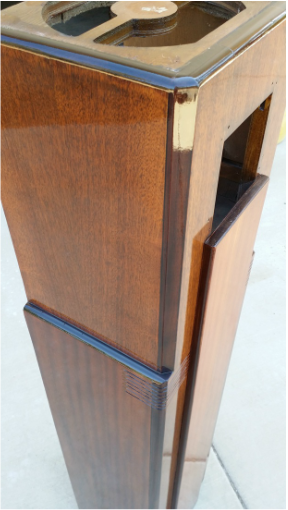
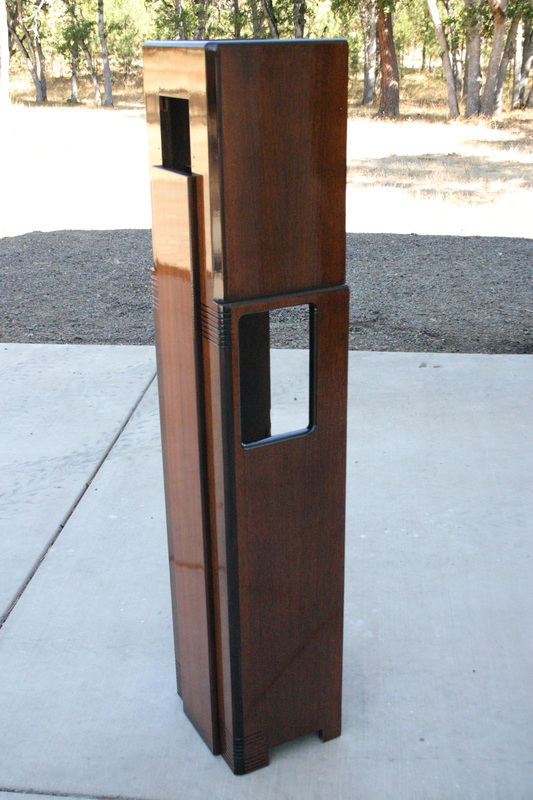
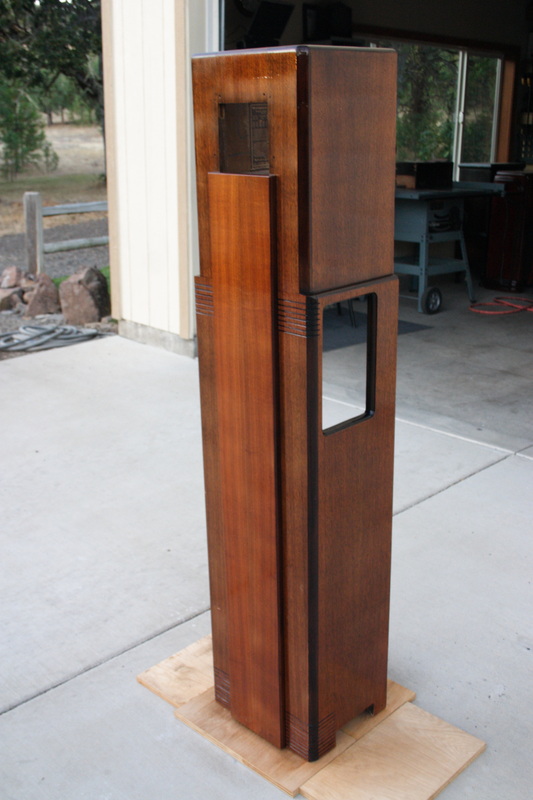
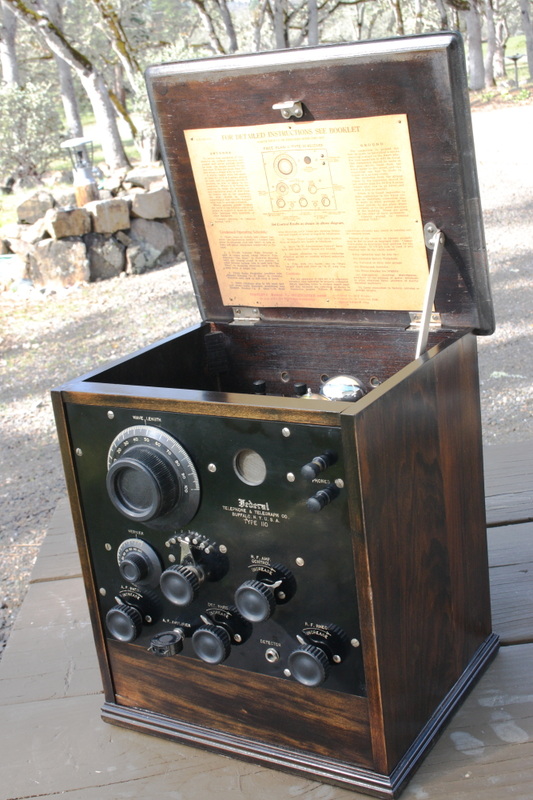
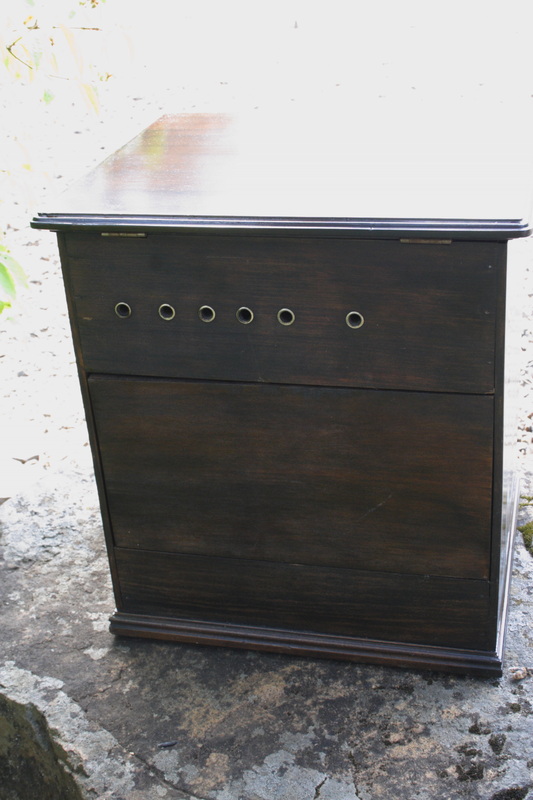
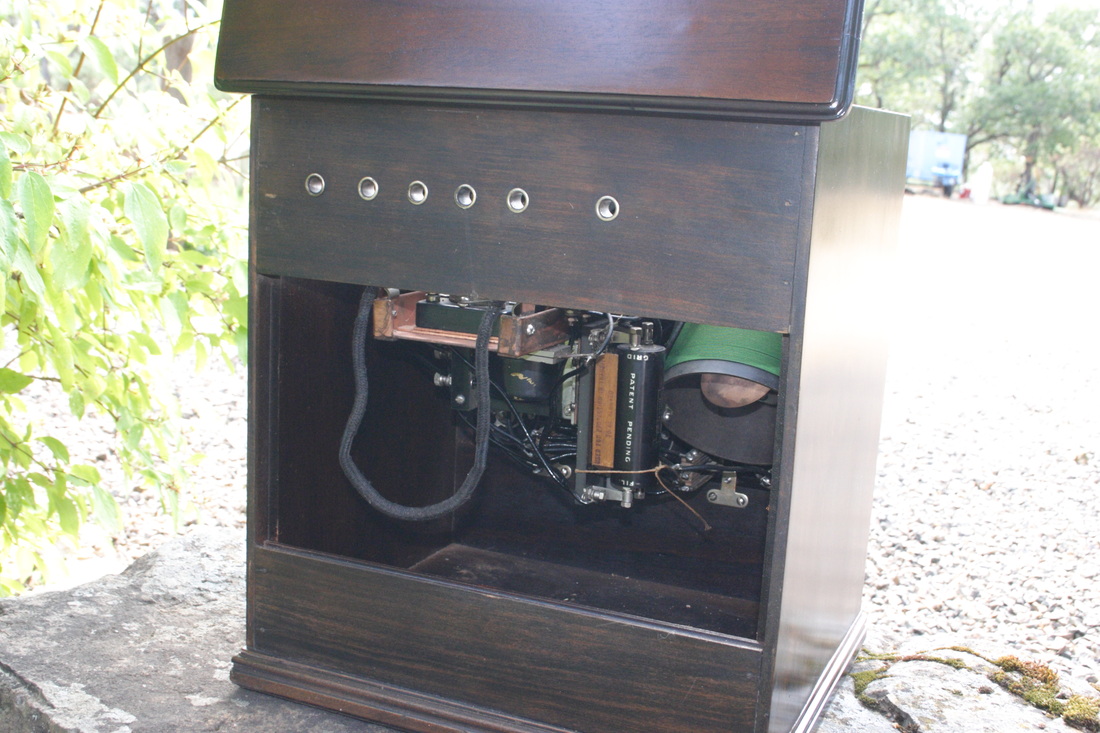
Just your average, half finished Echophone S-4, right?
Picture
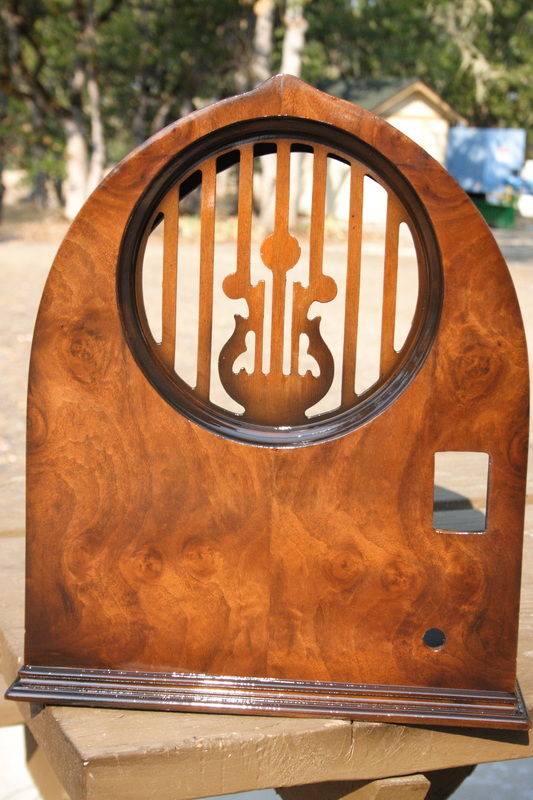
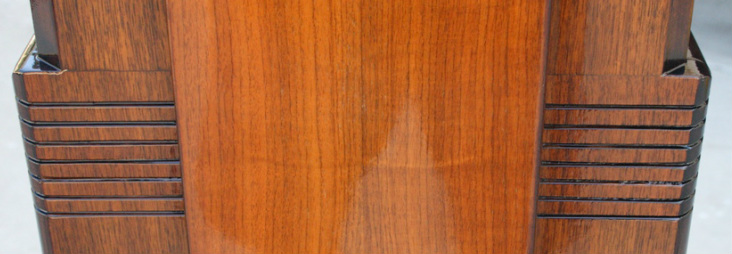
Too many paint fumes? Or should I have my prescription checked? But, do you see a face staring back at you?
Picture
NO! Of course not!
Picture
Dr. Seuss' How The Grinch Stole Christmas 2000
But, what about those two long stemmed roses, one on either side of the speaker cut-out?
Picture
Yeah, I don't see any of that either. Never mind!

But I do have several more sets of that exact set of book-matched walnut veneer AND another Echophone cabinet to finish. Would it be too weird to have a room full of radios with a face - or -um whatever I don't see?


That is, if a radio with a smile isn't enough already?


2 Comments

WR-8-R NOW With a Smile

8/26/2014

0 Comments

 
Top coat of gloss lacquer has been applied. It will still need to be rubbed out and polished.
Picture
Picture
I think that it is happy. It seems to have a SMILE.
Picture
0 Comments

Westinghouse WR-8-R

8/24/2014

0 Comments

 
This was actually a week ago, but the cabinet got the dye(s) applied and a seal coat after all of the veneer repairs were done. Almost no toner will be used. Since they used dye in the original construction, so did I.
Picture
Tomorrow the final topcoat should be applied and then if all looks good, it will be buffed out in about 2 weeks.
0 Comments

PSARA SWAP MEET, Aug, 17

8/21/2014

0 Comments

 
Pictures from the swap meet last Sunday. It was held at Shoreline Community College
Picture
Picture
Picture
Picture
Picture
Picture
0 Comments

Federal 110

8/10/2014

1 Comment

 
People often ask "which one do you like best?" Well that changes about as often as we get a new radio and depends on how old the radio is, design, cabinet and function, not in any particular order. I like the Federal 110 because of it's age, design and function, meaning it is from 1923 was built well and works well especially for a 3 tube receiver. The cabinet is about average for the time.
Picture
It uses the familiar 201A tubes like most radios of the period and a gaseous detector, the 200. In early 1923 these would have been brass based UV style tubes drawing 1/4 amp filament current except the 200 which was still a full 1 amp tube that glows like a light bulb. The UV tubes had short pins compared to the UX style that were soon to come. The Number varied by manufacture but could have been UV 201, 301 or 401. The UX tubes will work as well as will the later 01A except in the detector position where the 200 resides. Installing a 1/4 amp tube in this location will cause  the detector filament control to not function properly and this is a critical adjustment for a gaseous detector. In fact the 2 Federals we have take full advantage of the rather picky detector tubes and that is another reason to like these radios. Not only do all of the knobs and switched work, they actually DO something.
Picture
All three tubes sockets are mounted to a sub-chassis that is in turn held suspended by heavy black cord providing mechanical isolation with the major objective (I suspect) to avoid microphonics.
Picture
Like in the larger model 59 (earlier post) headphone jacks are provided so that you may listen to the output of each stage, thought there is not much to listen to at the output of the first RF amp, the final audio amp provides enough gain to drive a high impedance speaker/horn.
Picture
Here is an interesting note. The wooden block in the picture above clearly says to remove prior to operation. It was placed under the transformer to dampen vibration in shipping. So even in 1923 people could not be expected to read the directions, even though they are attached to the inner lid. And, since it survived this long, I left it in place since doing so would not impact the radio's performance except in the case of vibration (microphonics again).
Picture
The cabinet has a removable back cover which is often missing.
Picture
So, why has it taken several months to get this post up? The very nice hinged top lid was warped badly, so bad that it would not clip shut. It has a ball and spring latch. The radio has been working for a long time.


SO - - I removed the lid about a week ago and soaked it in water for a couple of days. The laminated pieces fell apart as well as the joined Poplar core (I think, it has a lot of green grain). The core, about 3/8 of an inch thick was 4 pieces. Each was clamped between 3/4 oak plywood and dried in our wood kiln (Sue's kitchen oven) at 250 deg for several hrs. and then remained clamped for several more days. The other laminations were also preserved for reuse.


Here is the problem. What looks like a rather thick veneer of Poplar (also) ran at 90 deg to the core but only on the lower side. No reciprocal piece was incorporated on the top side, only a mahogany veneer who's grain ran the same direction as the core. Even though the layers were clamped and dried this veneer was swelled on one dimension, shrunk in the other and began to crimp (shrink) only in the center immediately upon being freed from the clamps. In it's former application it was certainly exerting considerable force on the core and there was nothing on the other side to counteract.

Picture
Now, this slice was not reinstalled into our new lid, but 2 layers of mahogany, one on top and one on the bottom were. The original finish veneer was used on the bottom, after the mahogany.  The lid was then refinished

A lot of work to preserve as much of the original lid as possible. And with any luck it will remain flat.


What do you think?


Any other warped 110 lids out there?


1 Comment

Westinghouse WR-8-R Update

8/6/2014

6 Comments

 
It took 2 days to get the remote control system fully functional. It would have taken less time had it not been previously "repaired". The former servicer had given up on the remote on/off function completely and added a toggle switch. Gone now! He had moved the armature spring arm to the wrong side of the motor. No way to ever set the volume, especially since there is no physical knob to turn.
Picture
The system uses a "tapped reactor", the item in a can to the left.. This can also contains a 1uf paper cap that is not listed on the radio schematic, but is listed in the remote diagram. Nothing like melting tar in the morning. In this case the tar blob must also be reinstalled (the tapped  reactor) along with a new cap.
Picture
The main shaft leading to the variable cap was also frozen, so it could not tune manually or by remote. Additionally, the buttons used to set the station selector cams were all frozen inside of the pot-metal block that holds them.

I wonder how many of these are fully functional.

I do need to find one of the plastic buttons.

The remote is ready to hook up as well but I have not decided on what kind of cable to use.


6 Comments

Philco 15X Finished

8/1/2014

0 Comments

 
Before (as found) and after
Picture
See other pictures and restoration pictures below.
0 Comments

    Author

                         Russ Webb

    Picture
    Russ Webb & Fuzzy

    Best Buddy, Radio fixer


    Categories

    All
    All
    Antiques
    Electronics
    Radios
    Repair
    Restoration
    Travels
    Vintage

    RSS Feed

    Archives

    March 2025
    November 2024
    December 2023
    March 2023
    November 2022
    October 2022
    July 2022
    January 2022
    December 2021
    September 2021
    June 2021
    April 2021
    February 2021
    January 2021
    November 2020
    July 2020
    June 2020
    April 2020
    March 2020
    December 2019
    October 2019
    May 2019
    April 2019
    March 2019
    February 2019
    January 2019
    December 2018
    November 2018
    October 2018
    September 2018
    June 2018
    April 2018
    March 2018
    February 2018
    January 2018
    December 2017
    November 2017
    September 2017
    June 2017
    May 2017
    April 2017
    February 2017
    December 2016
    November 2016
    October 2016
    September 2016
    August 2016
    July 2016
    June 2016
    May 2016
    April 2016
    March 2016
    February 2016
    January 2016
    December 2015
    November 2015
    August 2015
    June 2015
    May 2015
    April 2015
    March 2015
    February 2015
    January 2015
    December 2014
    November 2014
    October 2014
    September 2014
    August 2014
    July 2014
    June 2014
    May 2014
    April 2014
    March 2014
    February 2014
    January 2014
    December 2013

CUSTOM DESIGN BY SUE WEBB  06/2013       Redesigned by Russ Webb     Approved by Fuzzy   Updated:  Pretty much all the time, but I forget to change this date
Proudly powered by Weebly
Photos from valart2008, rafeejewell