
This is a project rescued from the wood shed.
I have mentioned the "wood shed" before. It is a small structure used to store wood and parts chassis and occasionally a radio that is so far gone, but interesting enough to avoid becoming firewood - at least for a while.
Received from a fellow collector, this is a Western Air Patrol 5 Tube Super from around 1935. The story on this one was that it had been placed on a table, outside, for a garage sale. Then it rained. Either that or someone had taken it for a swim or used it to decorate an aquarium.
In any case, the front panel was shot. fortunately, the rest of the cabinet was in relatively good shape which is unusual since it is constructed from solid mahogany. Most of the time a "solid wood" panel is going to warp when soaked in water. The entirely missing finish may have actually helped to avoid warping - or I just got lucky.
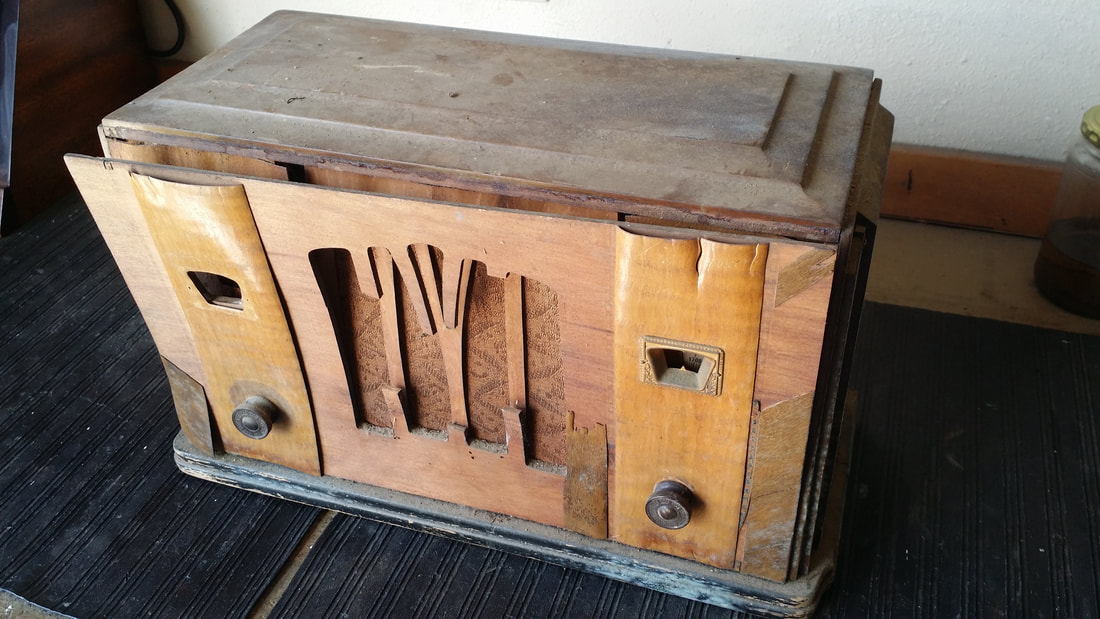
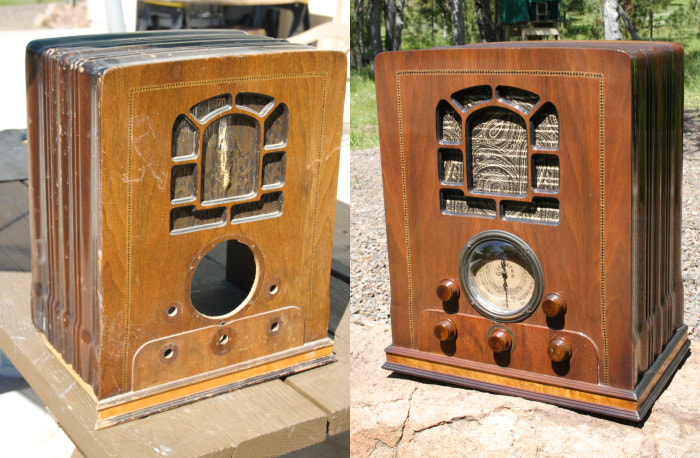
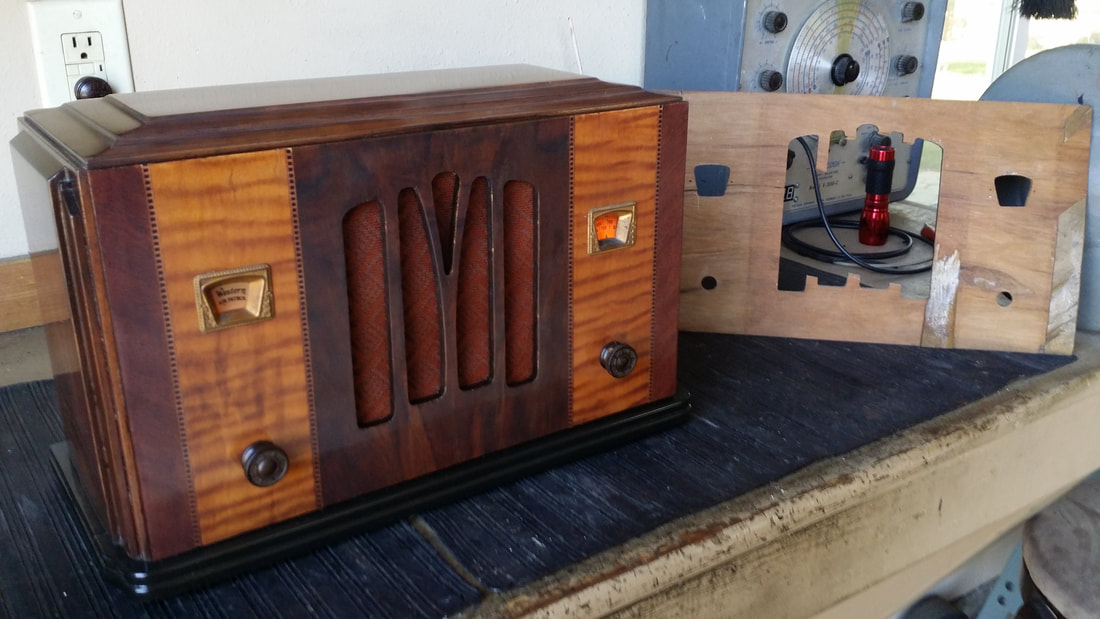
The knobs were all that was holding the front panel. Most of the veneer was missing. Fortunately, the escutcheon shown missing in the photo above, had been thrown inside.
This is a west coast radio manufactured by the Gilfillan plant in LA. It was built for Western Auto and carries the Western Air Patrol badge, which lights up in the left-side escutcheon. It is similar to radios built by Gilfillan and sold under their name or for retailers such as Herbert Horn (Tiffany Tone). Chassis were very similar as were the cabinets.
This is a west coast radio manufactured by the Gilfillan plant in LA. It was built for Western Auto and carries the Western Air Patrol badge, which lights up in the left-side escutcheon. It is similar to radios built by Gilfillan and sold under their name or for retailers such as Herbert Horn (Tiffany Tone). Chassis were very similar as were the cabinets.
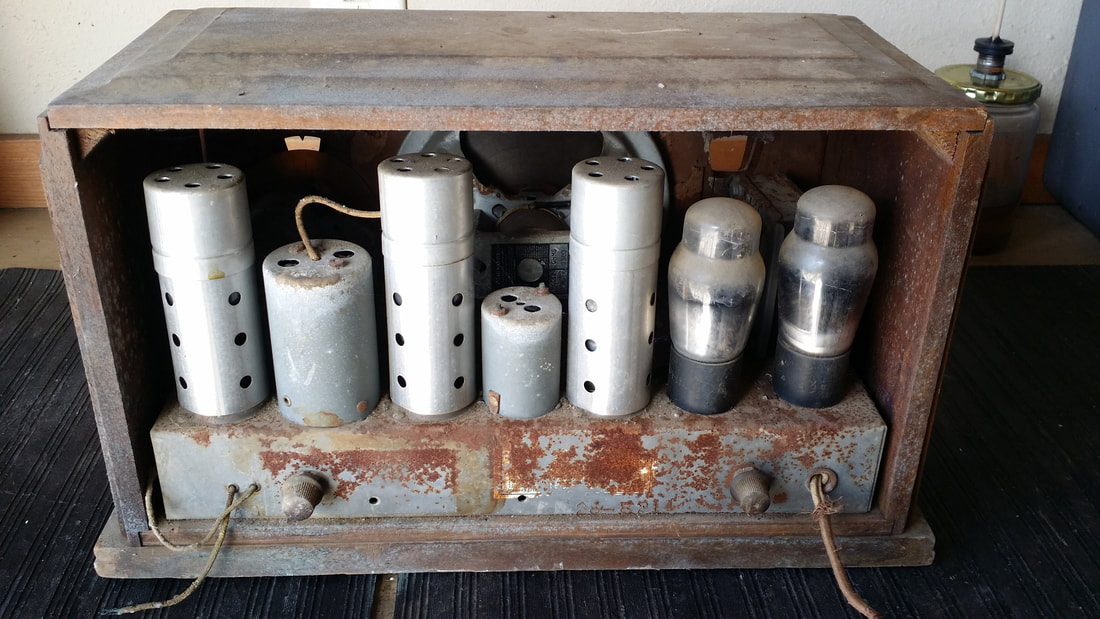
The chassis was pretty rusty but the speaker was intact.
Note the tone and band selector knobs on the back of the chassis.
Note the tone and band selector knobs on the back of the chassis.
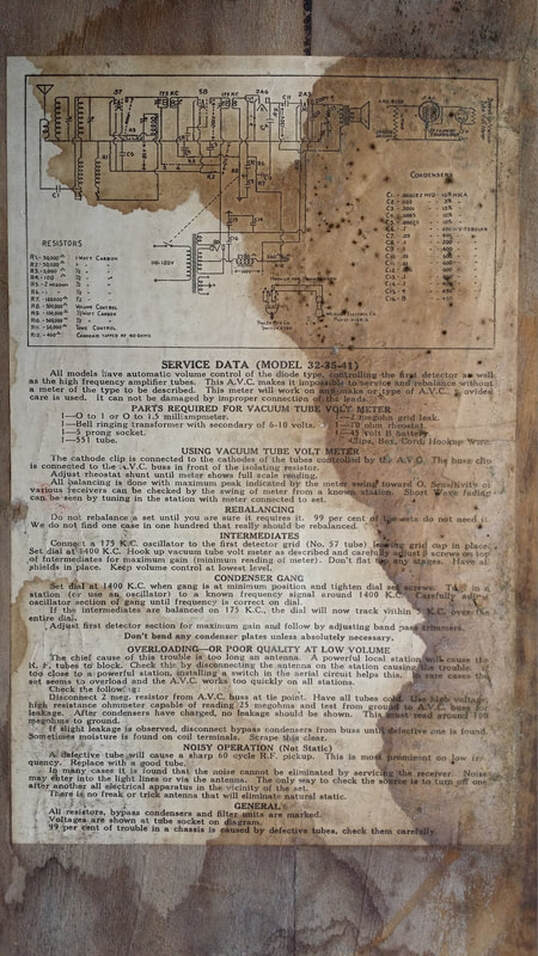
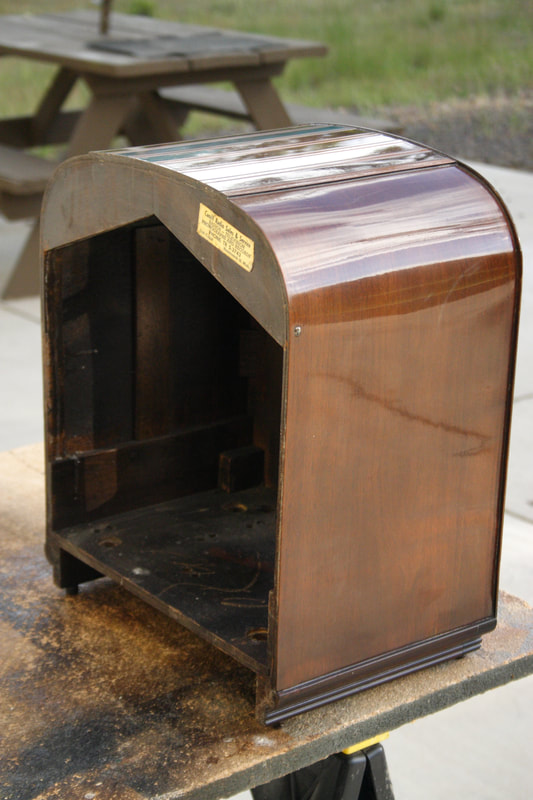
The schematic and instructions on the bottom of the cabinet did not escape water damage.
This radio preforms pretty good - and that is about the only nice thing I have to say about it.
You would think that with so few parts (relatively speaking) that the lay-out and construction would have been easy. But, this radio is one of the worst I have ever seen.
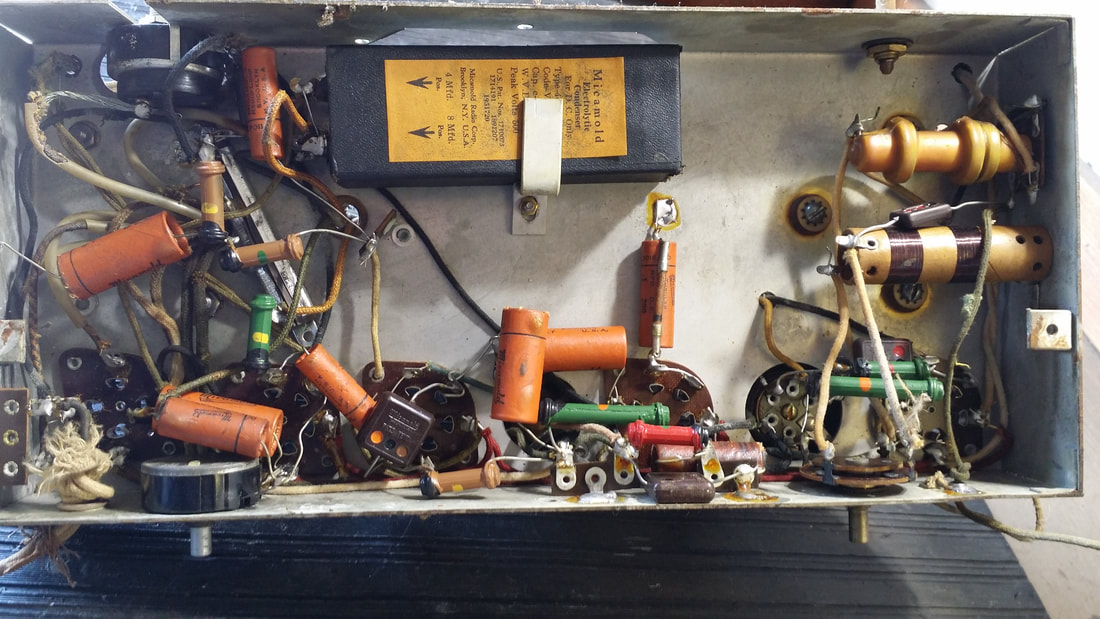
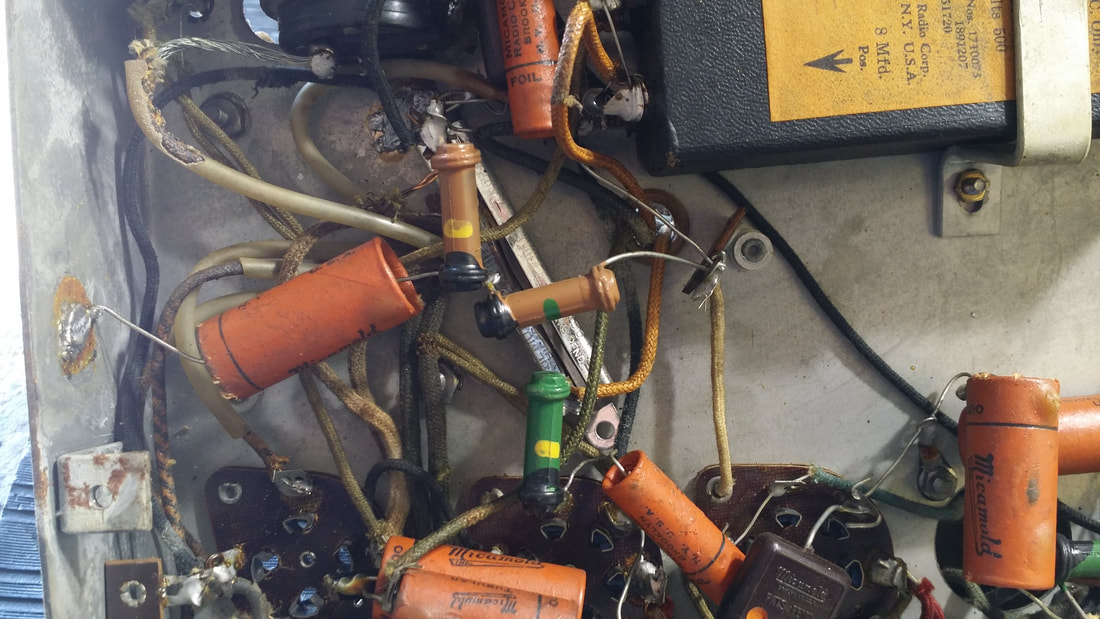
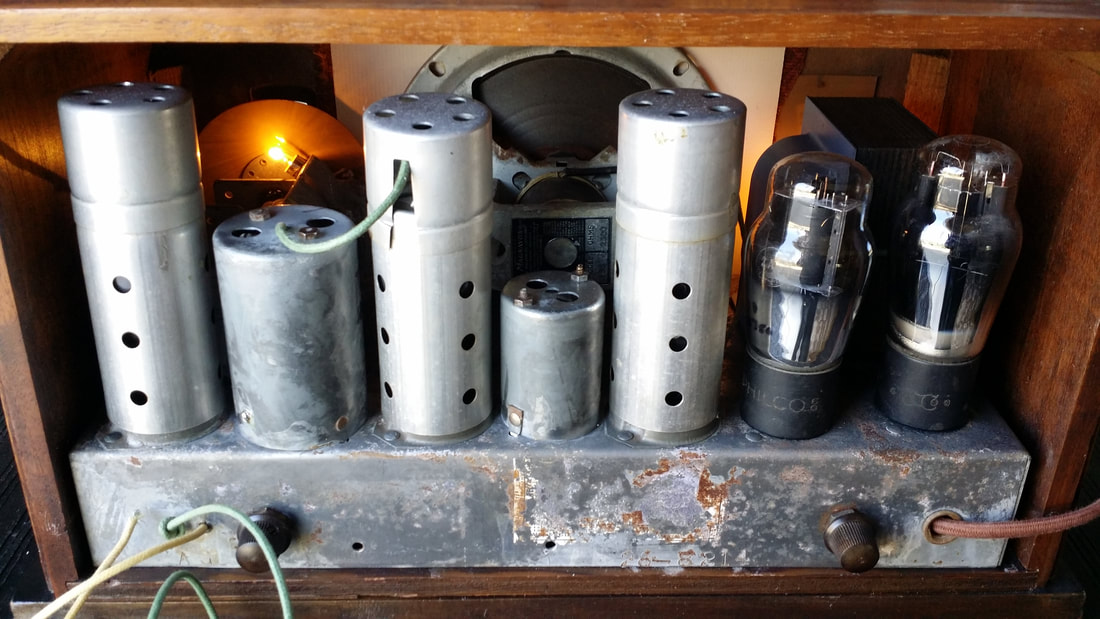
At first I thought that it had been subjected to a lot of marginal repair work. The power transformer was askew, mounted using two bolts since the other two did not line-up. It might be a Los Angeles sourced replacement - the same color (grey) and shape as the originals that I have seen online. The leads did not line up with the original (design) penetration, but , the new hole was punched (flare on bottom side) rather than being drilled as you would normally find in a substitute style repair.
Solder joints were poor. two components leads were entrapped in solder blobs but were still loose. All of the connections to the chassis were poor. In the above picture, see the candohm that is attached by a blob to the chassis and only at one end. This seems to be the case on other examples of this chassis as well. Leads were wrapped but not trimmed.
The clamp on that filter cap was never going to hold it securely in place.
The tone control and the band switch controls exit the rear of the chassis. I would hope that this was due to a last minute production change rather than by design.
The mouse damage did not help. (How hungry does a mouse have to be to eat plastic?)
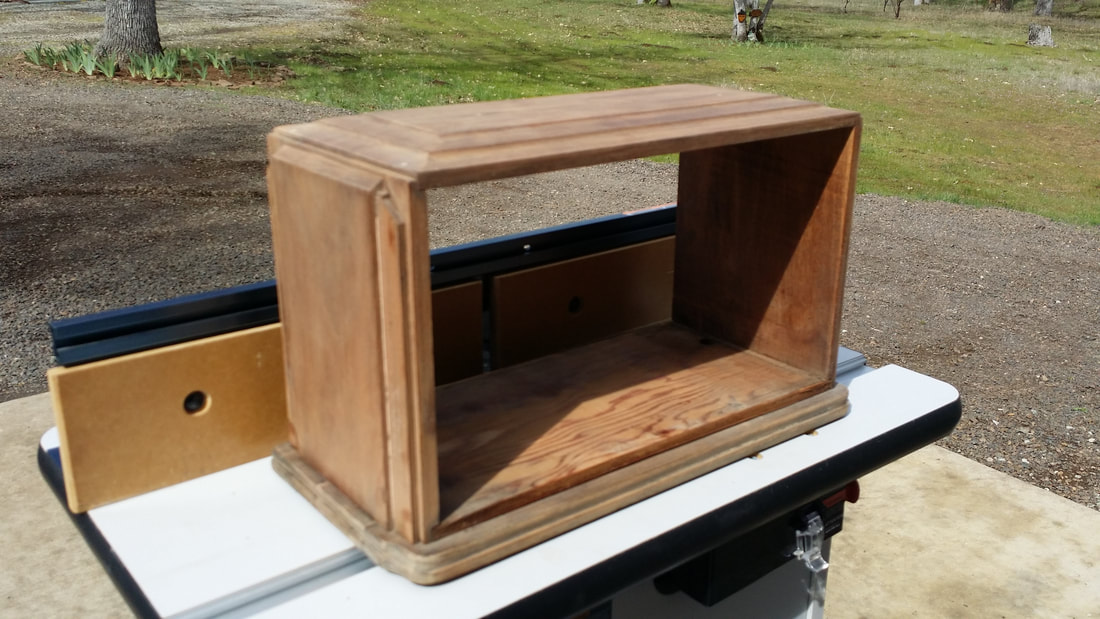
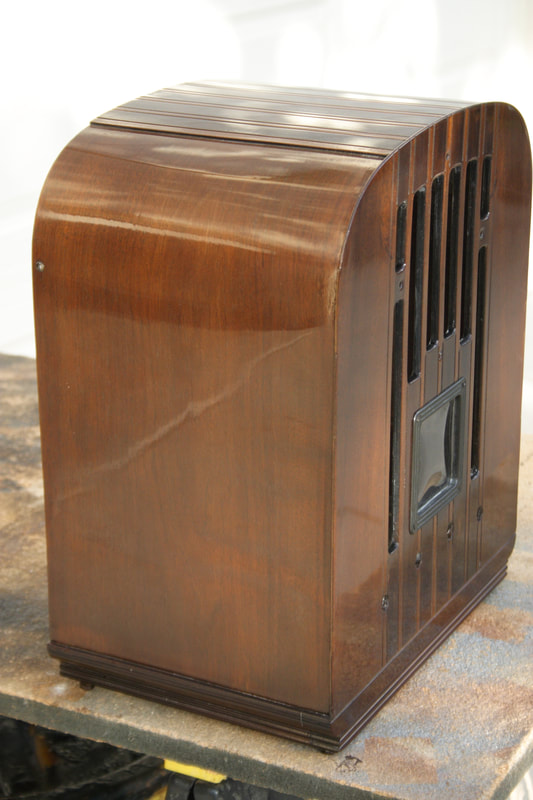
I broke the cabinet down to its individual panels before reassembling it. This did not take much effort since all of the glue joints had failed and the panels were only held together by the original tacks and nails. The top was originally cut to shape but the side panels were constructed of several solid mahogany components.
This construction style, where a laminated front panel is affixed to a solid wood box is a characteristic of radios manufactured by Gilfillan at the time. Most cabinet manufactures did not design cabinets where laminated edge of the panel was exposed. Many of these cabinets have exotic veneers and intricate detail - but only on the front panel. There was some pretty wild router work done on the rest of the cabinet(s).
Other Gilfillan examples below.
Other Gilfillan examples below.
Above: A Gilfillan 6T version, discussed here:
https://www.russoldradios.com/blog/one-of-a-kind
https://www.russoldradios.com/blog/one-of-a-kind
Above: A Gilfillan Allwave Super 6T 6C from around 1934.
 |  |
Gilfillan was not the only manufacturer to expose the edge of the front panel. In an even worse application GE not only did this but extended the thin vulnerable edge beyond the structure in this M-51 pictured above. I consider this GE design a classic example of Design By Comity with other questionable aspects beyond the often-broken front panel.
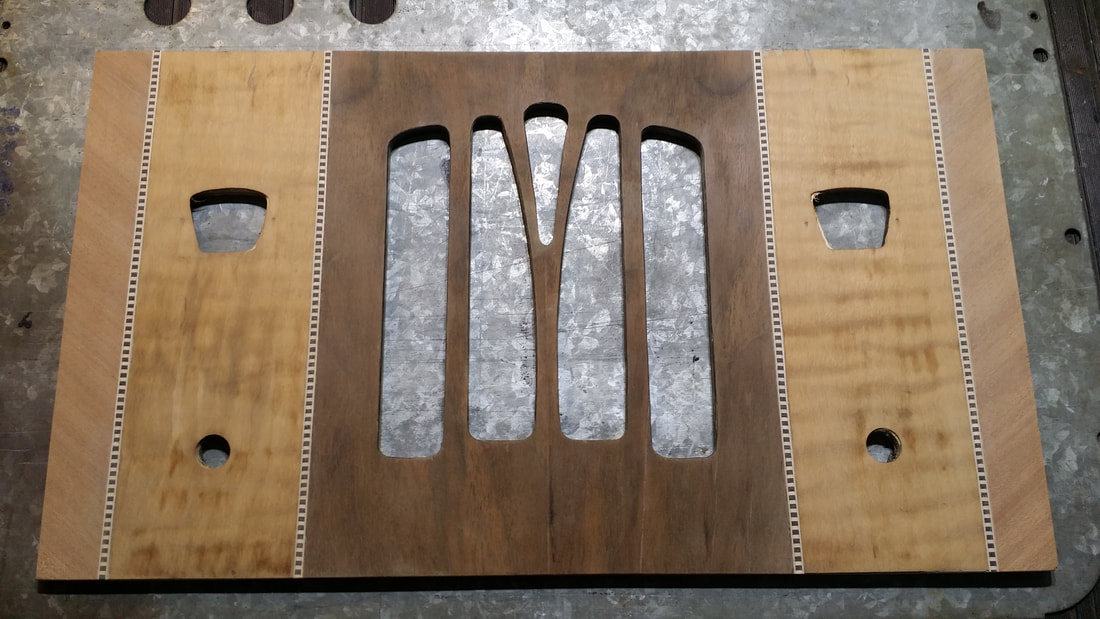 | 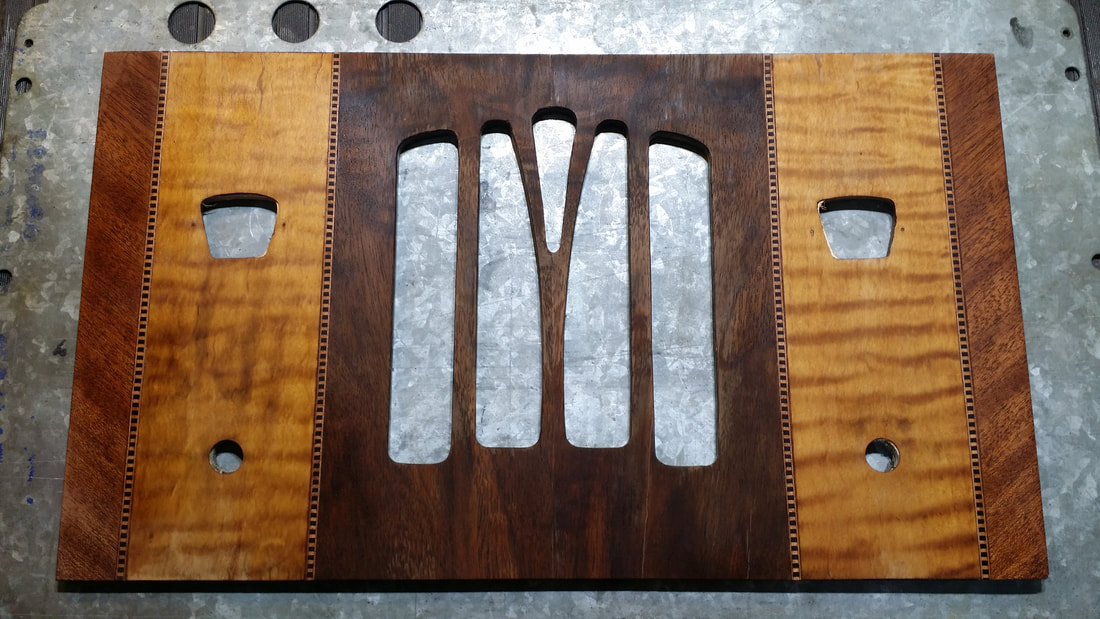 |
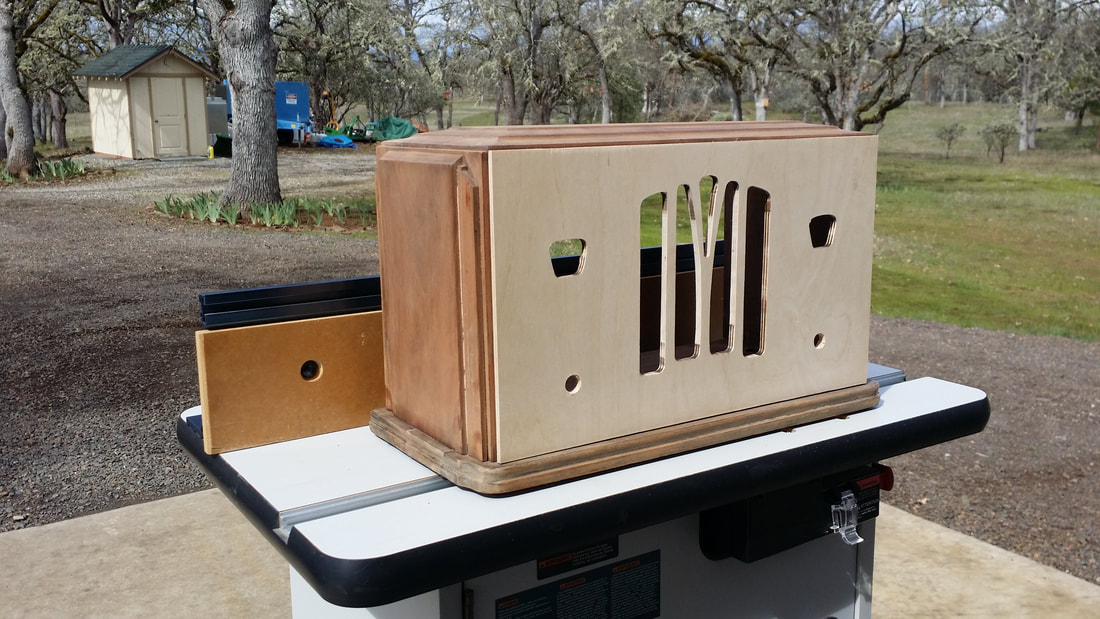
There was enough left of the original front to give me a pattern, I used 1/4" Baltic Birch plywood which is an improvement on the original. After the router, all I needed was veneer. I was able to reuse the two remaining strips where the escutcheons were but the rest had to be replaced. The original veneer pieces weren't really book-matched, more like sequential cuts. So that is what I did too.
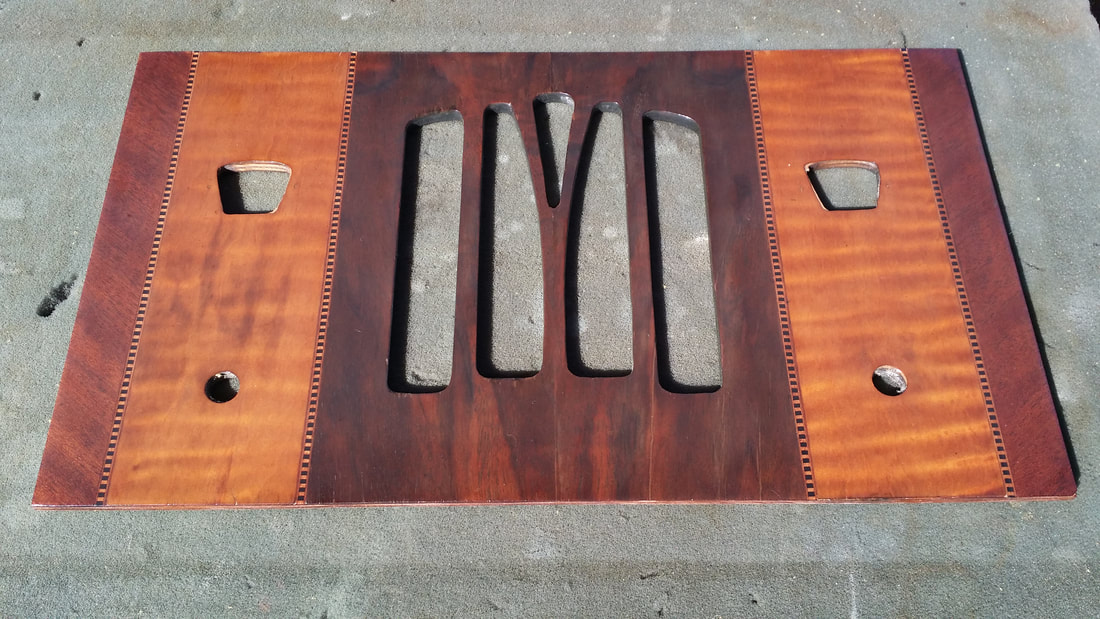
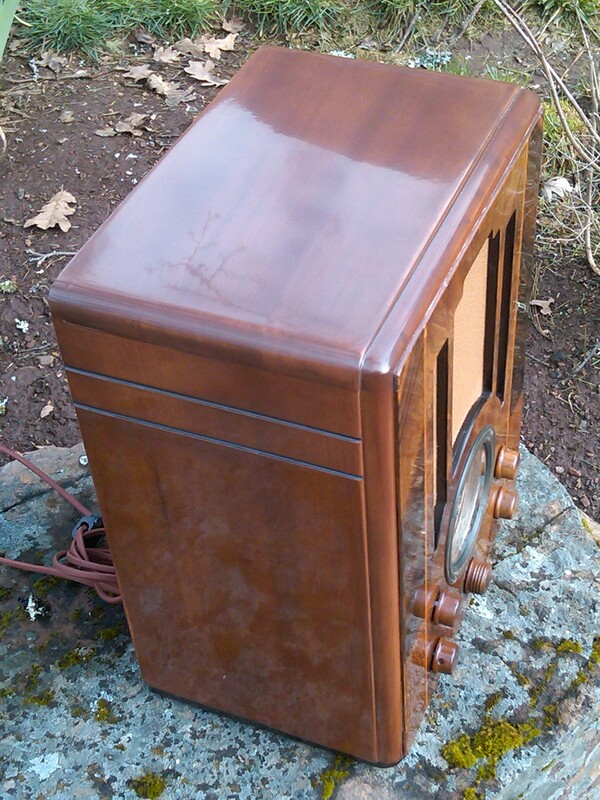
I decided to modify the gloss finish slightly, making it more of a semi, semi-gloss that I then buffed out.
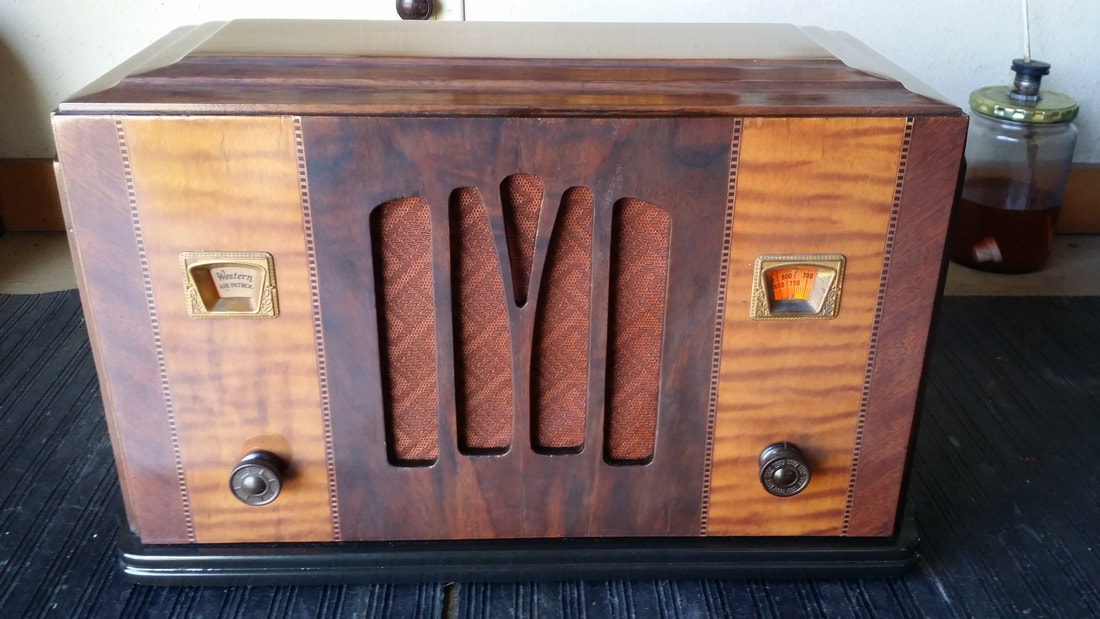
I need to reposition the light bulb on the left to get a little more glow through the Western Air logo.
I derusted the chassis as best I could while preserving as much of the original plating as possible. Removing all of the rust and exposing bare steel would just encourage more rust and I am totally opposed to painting an originally unpainted chassis. One day, maybe I'll locate a nicer chassis. OR(!) if this Corona Virus - stay at home stuff - goes on for too long, maybe I'll get inspired to replate this one.
Works well with just the antenna pig-tail. Impressive with a real antenna.
Russ
Russ

 RSS Feed