
- - -Better living with chemistry from Chef Russ.
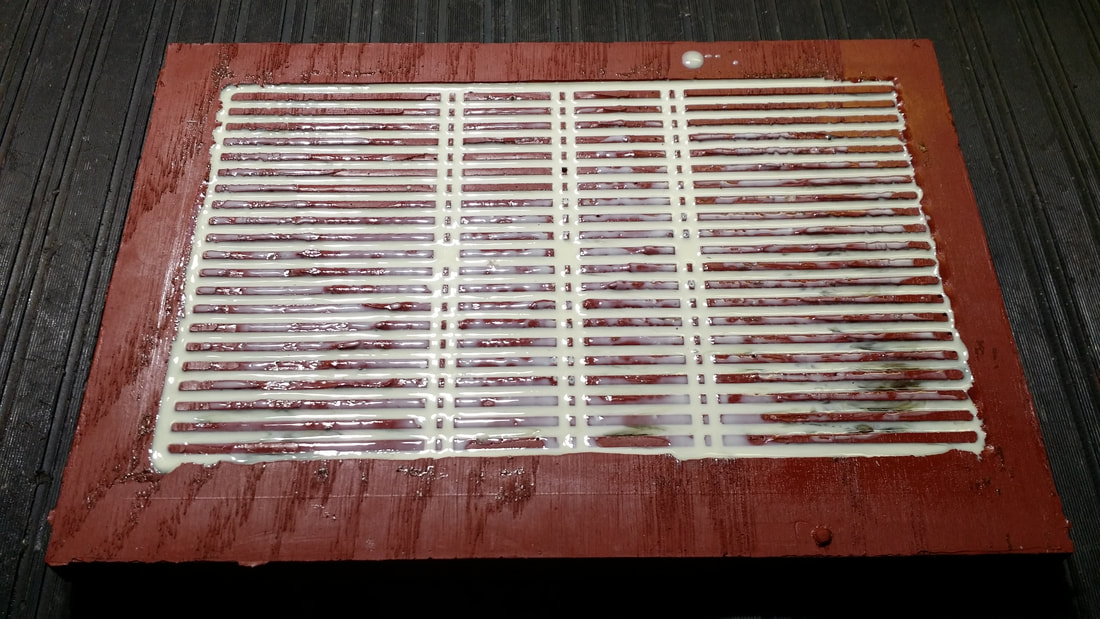
The red goo was starting to get lumpy. Not much shelf life and too expensive to waste, I needed to get this project finished before the cost went up.
The high-temp silicone molding material is always fun to work with, it seems to spread like some demonic force. No matter how careful I am it ends up on my tools and bench. It reminds me of the "Red Matter"from the Star Trek movie in which a very small amount was used to blow up a whole planet (Vulcan). Guess I better not drop any - ahh! Too late - -
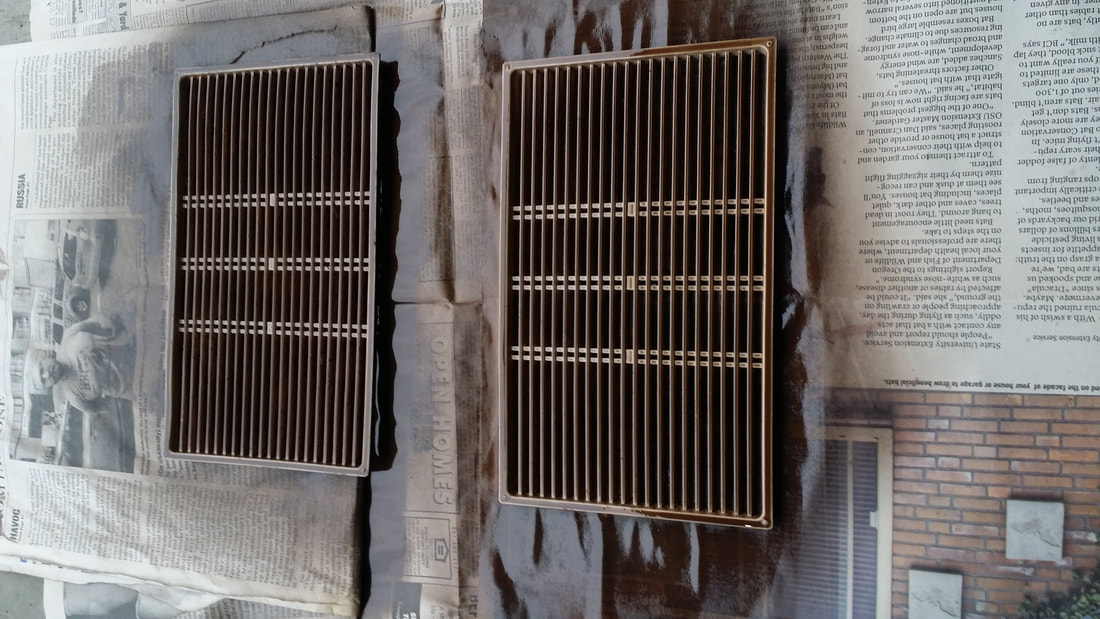
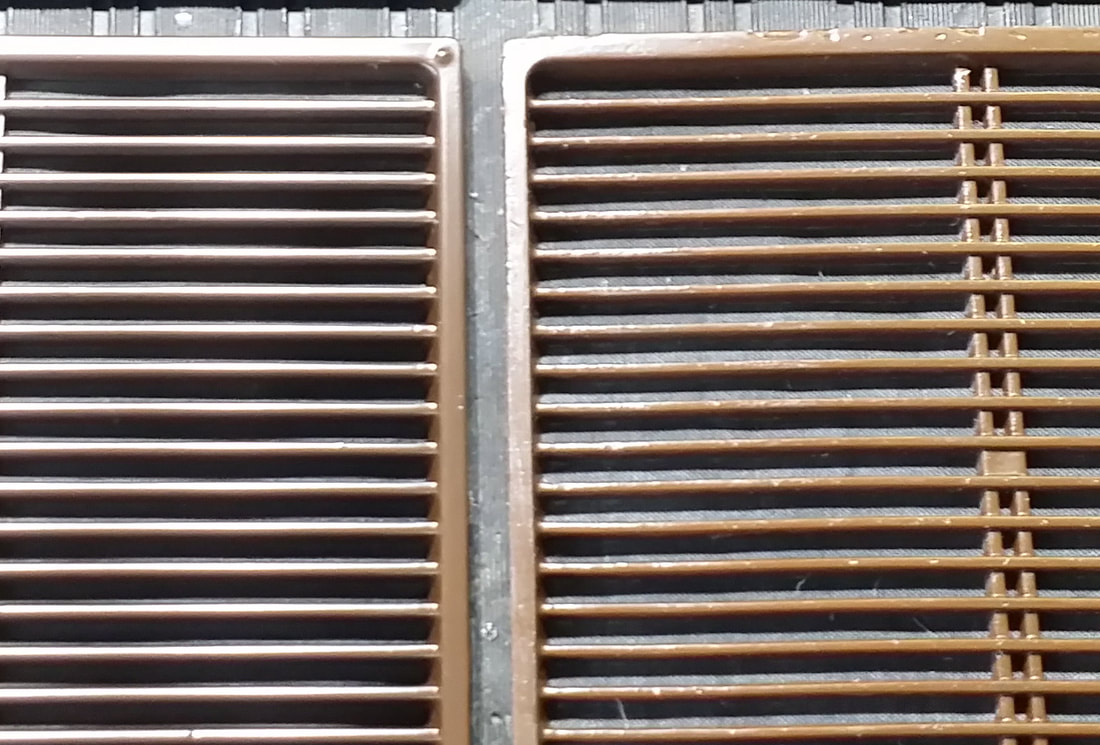
Above: Original grill on rt. On left is a temp cover to prevent finger-damage to the speaker cone.
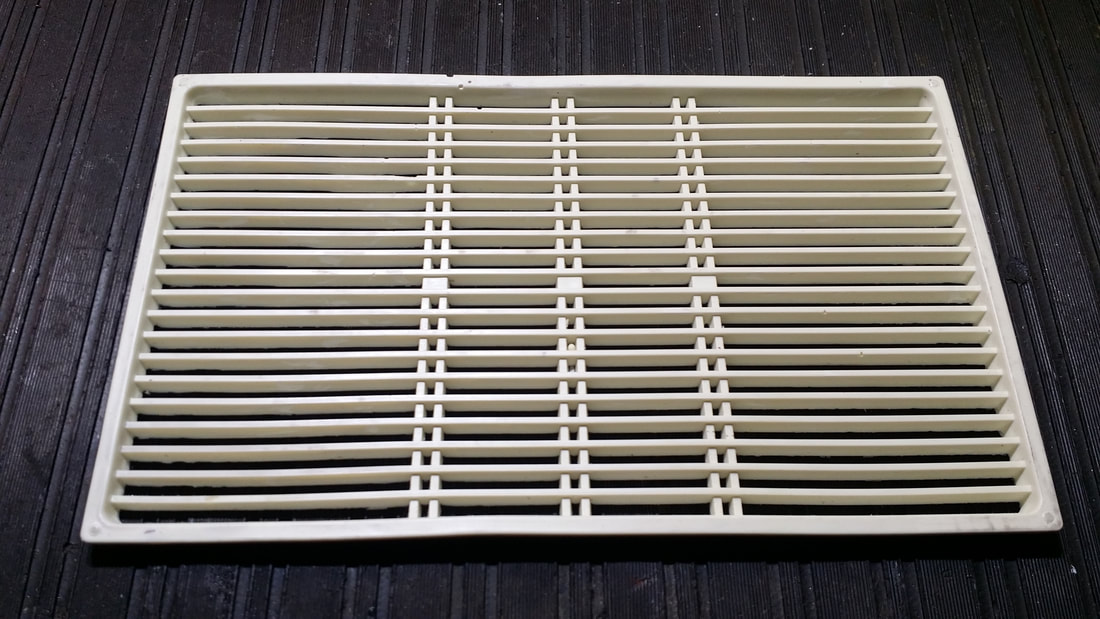
Going with what I have seen on my two radios, it appears that these models are often missing the speaker grills for the midrange speakers mounted on the sides. Of the 4 needed, mine only had one. Fortunately that one was in good shape and could be used to make a mold.
Going with what I have seen on my two radios, it appears that these models are often missing the speaker grills for the midrange speakers mounted on the sides. Of the 4 needed, mine only had one. Fortunately that one was in good shape and could be used to make a mold.
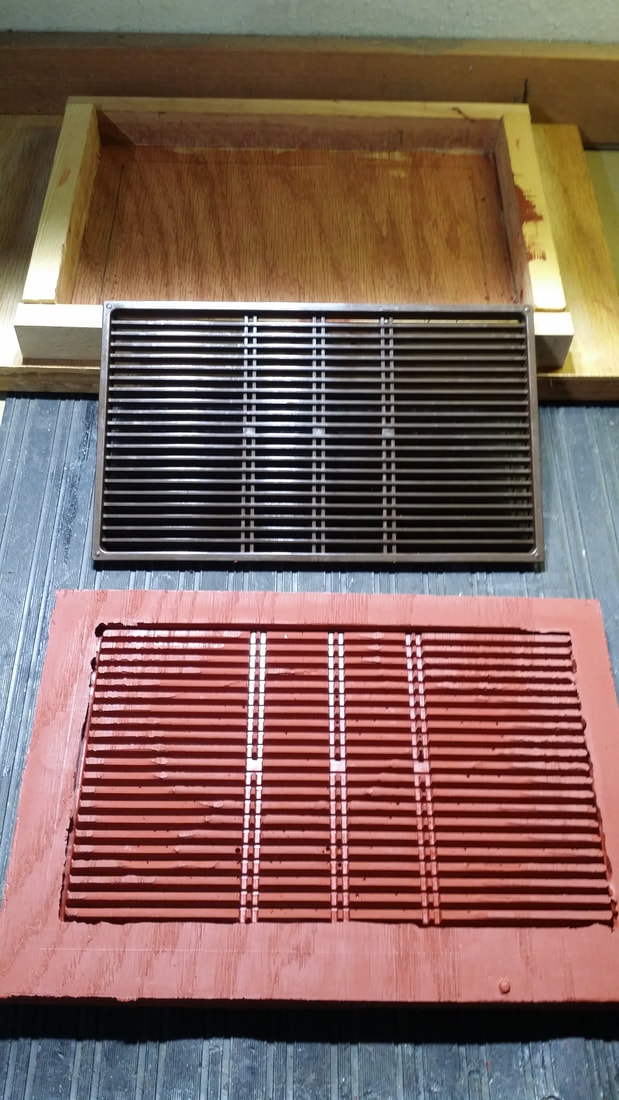
The wooden box is used to form the red silicon mold. Some trimming of the new mold may be required. Don't forget to use a mold release agent. The side of the mold that you see was face down in the box/form.
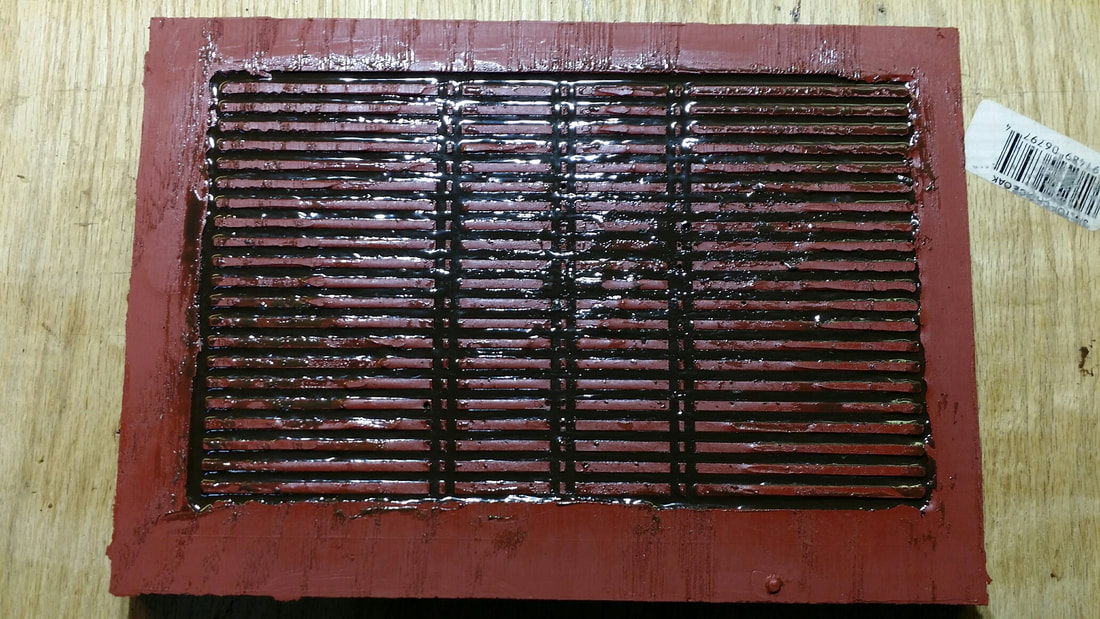
Above is a grill-in-the-making. In this case I used resin. The advantages of using resin is that it is readily available at hardware stores and that it can be tinted (tints are not at hardware stores. Sometimes "plasticizers" are available but they are intended to make "gel-coat" and not what I use.)
The mix-ratio is variable depending on temperature and your desired set-time.
The biggest draw-back is the difficulty in removing bubbles from the viscous mix. The shorter the cure time, the harder this becomes. One advantage of using the high-temp silicone mold is the ability to warm the resin in the mold. This will shorten curing time tremendously and help to eliminate the sticky surface that often occurs when molding resin. It will also reduce the time you have to work out bubbles. I used heat from the wood stove to harden these after they had begun to set up. The silicone mold will tolerate about 600 deg F, The resin WILL NOT(!) I would not exceed 100 Deg, by much.
I have had trouble with resin parts remaining soft for long periods. Using the correct mix and temperature will reduce this issue. Use the least amount of tint possible to achieve the desired color.
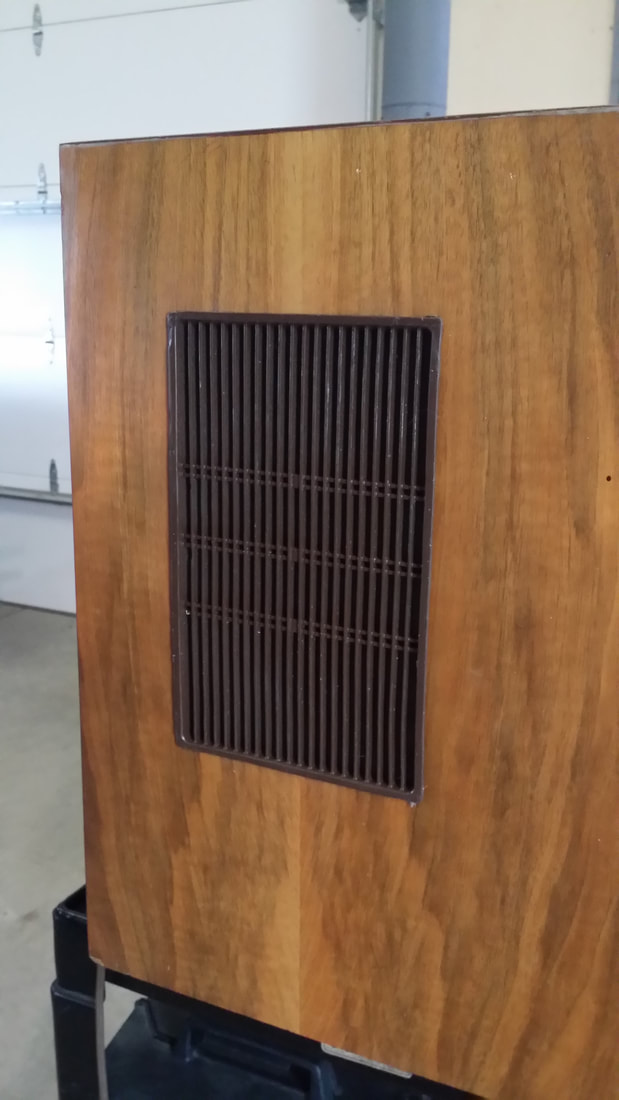
Above: A resin grill in place. It is OK and looks good from a few feet away but it is rougher than I would have hoped (most people would not notice),
So I decided to make a few more using 2-part polyurethane "Model Pro".
These came out of the same mold much cleaner with crisper detail and very few bubbles. But, as you can see in the "chemicals" picture below, the 2-parts, one clear and the other a greenish-brown, become bright white when cured. This stuff sets in 2.5 minutes and gets quite hot doing so. You have to work fast but the relatively thin mix allows bubbles to escape MUCH more easily. Using the high temp silicone is no worry for the heat produced. I would NEVER heat this stuff to cure and be aware that it can get VERY HOT all by itself.
These came out of the same mold much cleaner with crisper detail and very few bubbles. But, as you can see in the "chemicals" picture below, the 2-parts, one clear and the other a greenish-brown, become bright white when cured. This stuff sets in 2.5 minutes and gets quite hot doing so. You have to work fast but the relatively thin mix allows bubbles to escape MUCH more easily. Using the high temp silicone is no worry for the heat produced. I would NEVER heat this stuff to cure and be aware that it can get VERY HOT all by itself.
A good mold release agent is recommended by the manufacturer. It will keep the new part from sticking to your mold. It may also cause paint to fish-eye and other adhesion problems.
Hint: Paint the white plastic grill with black lacquer first. Then follow with your custom-tinted, brown top coat.
Another issue with having to paint the grills is that "mold release agent" that I keep mentioning. It can really mess up your paint. The new part can have the characteristics of silicone contamination. I found that the hardened part is stable when exposed to lacquer thinner for a SHORT time. I used a shallow metal pan to wash the part. Thin areas of flashing will also become soft quickly so they can be brushed off rather than having to cut them off. The thinner can remove MOST of the release agent but be prepared for issues. Apply the black primer coat first and try to spray your paint on as dry as possible. I have not tried non-lacquer based paints.
P.S. I almost forgot to add, the black lacquer that I used was just out of a spray-can but the brown was applied with my sprayer, so I had the luxury of being able to add fish-eye reducer/flow-out to the mix. This was a big help in reducing these issues.
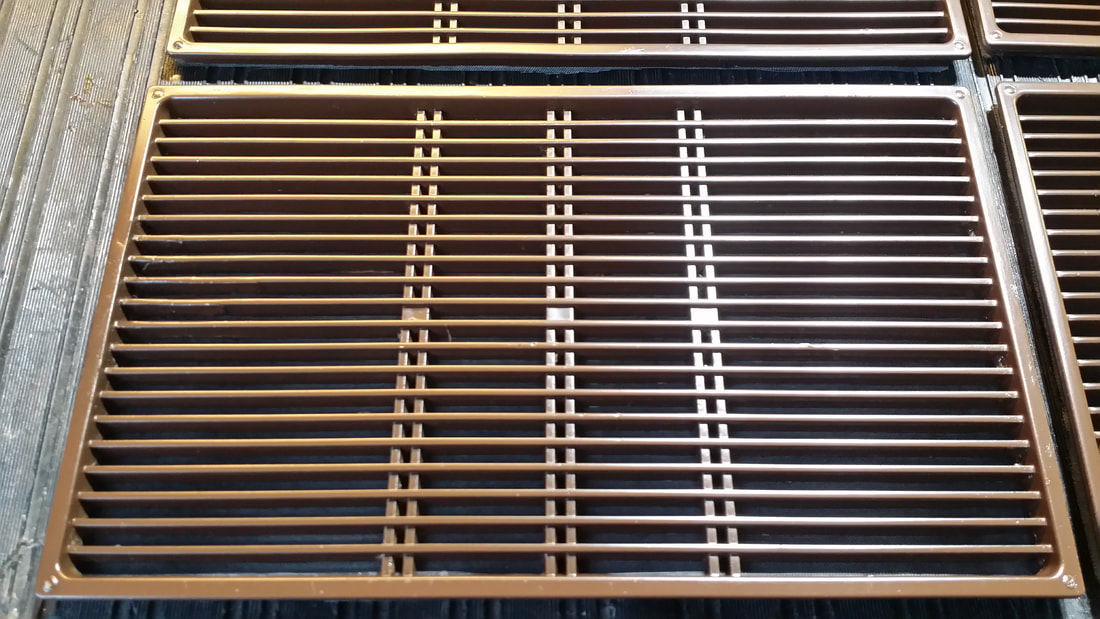
Above: Painted poly grill
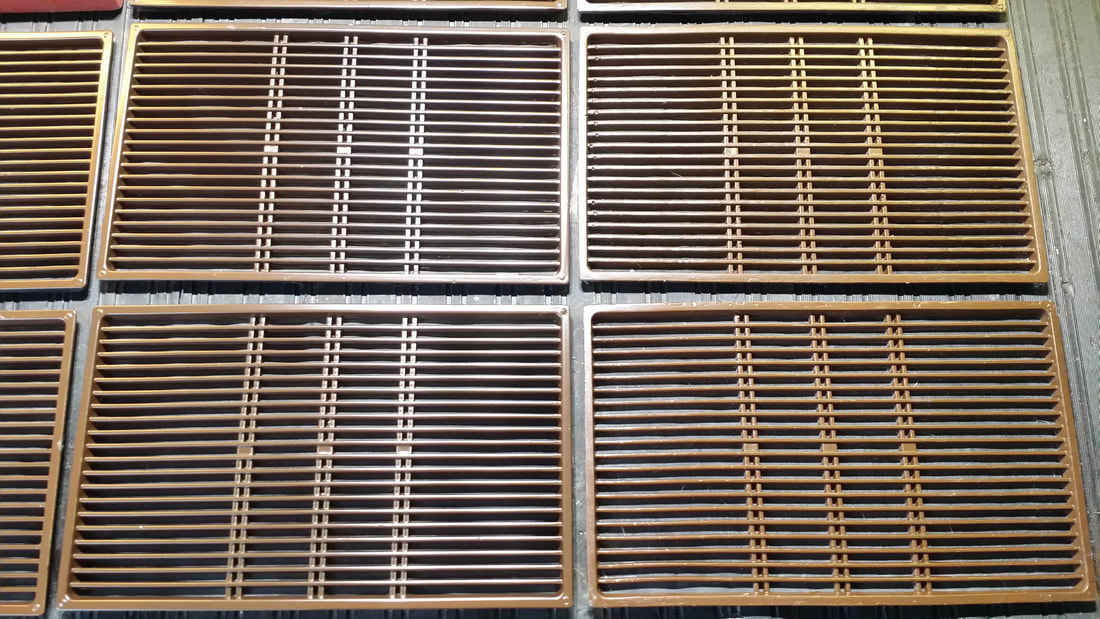
Poly and resin grills side-by-side. The colors are a match since I used the same tints in the resin that I used to tint the lacquer paint.
Made in the same mold: Left Polyurethane Right Resin
The painted poly grill has a better finish than the resin grill.
The painted poly grill has a better finish than the resin grill.
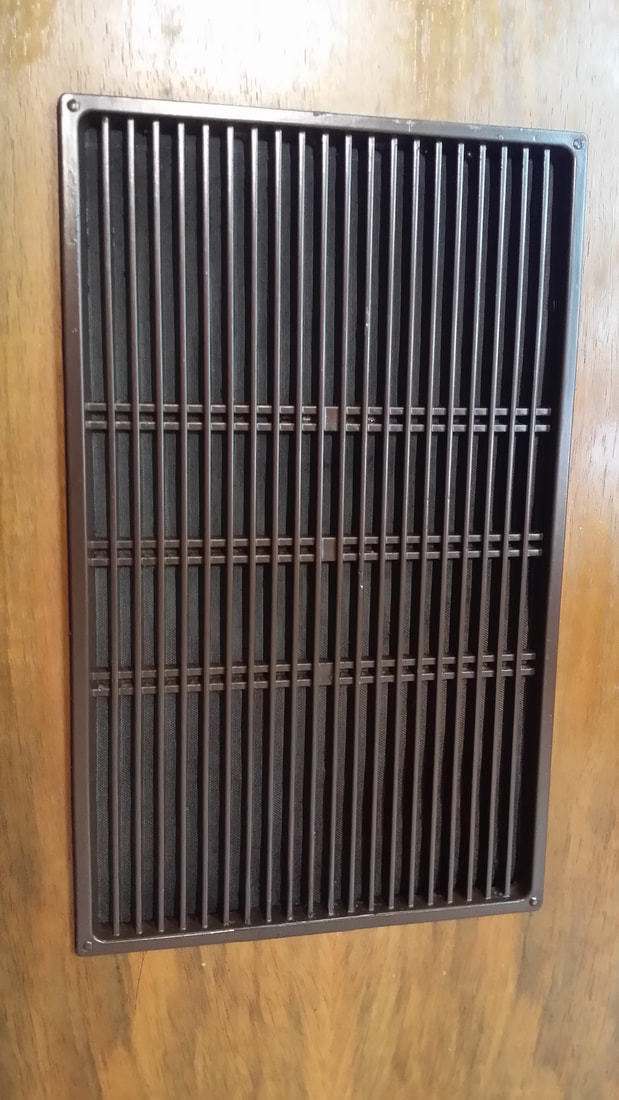
New Grill installed in the Saba 400. These were a friction-fit with maybe a little glue around the edge. It is possible that those that were missing simply fell out of the hole in contrast to the brittle/distorted plastic failures seen on earlier parts. Evidence for this is the good condition of the single remaining original grill used in the mold.
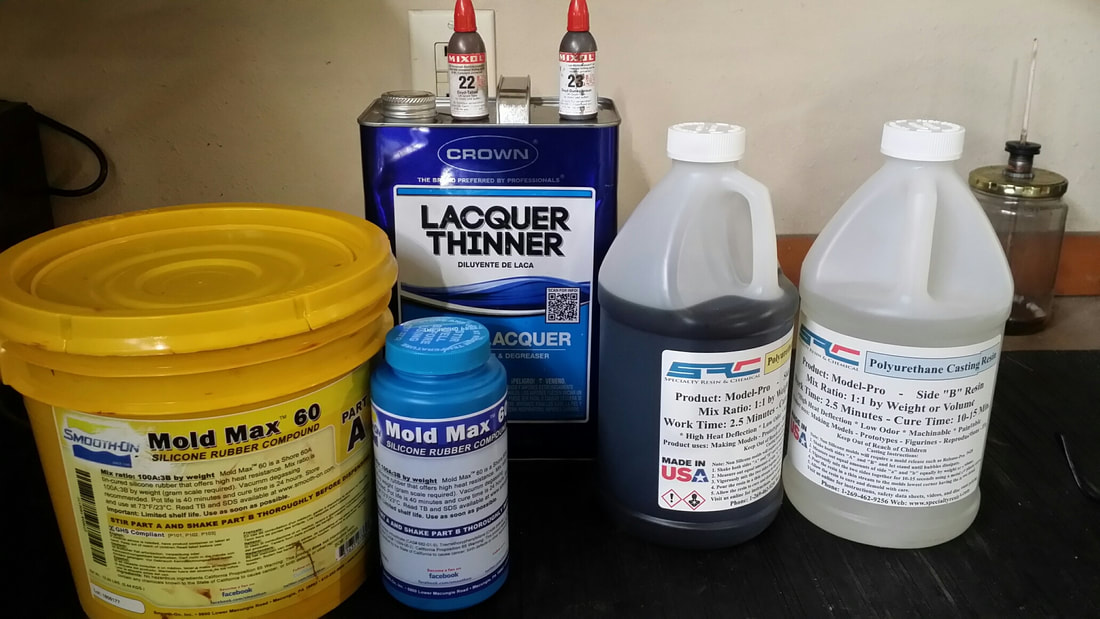
Some, but not all, of the chemicals used.
Wear your protection - -
This is obviously not a kitchen project. If you want to give this a try make sure that you have a well ventilated and suitable place for the project. Wear protective gloves and clothing . Read and follow label instructions - and don't yell at me if you get red goo all over the place.
I would estimate the cost of the pictured chemicals at about $200.
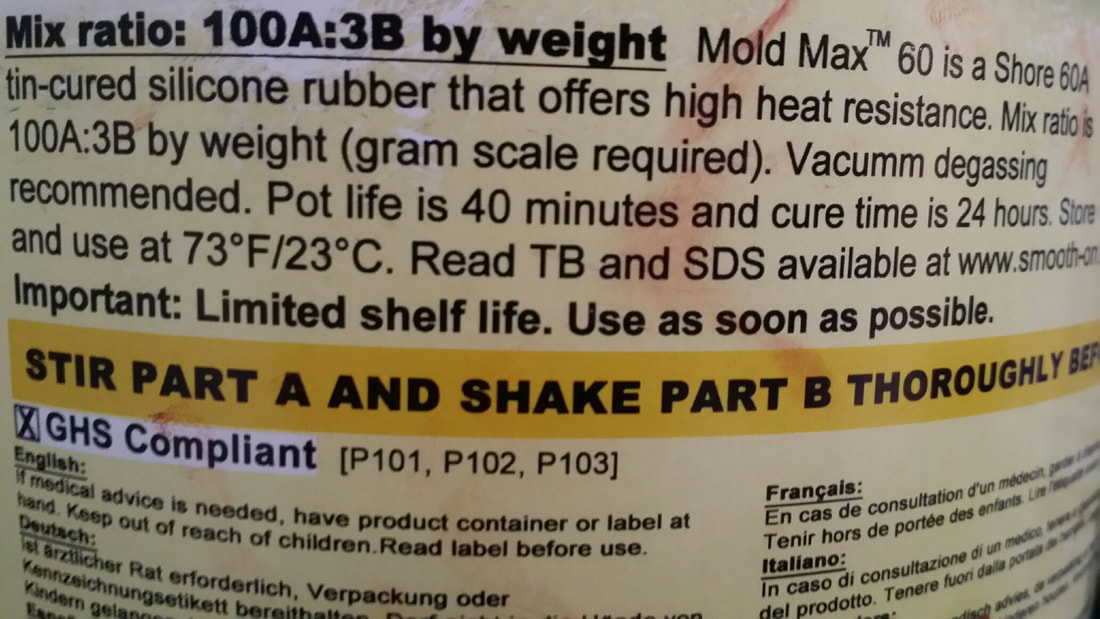
Label on the shore 60 silicone "Limited Shelf Life". I would not count on this stuff remaining viable for more than a year. Unlike many two-part solutions, close is really not good enough for mixing in the hardener. A person really needs a scientific scale to get the 100 to 3 mix ratio correct.
With many of these projects, I am asked if I will be selling these parts. No. I have too many other projects. Of course, if you would like to install the hydraulics on the tractor for the new backhoe, I'll make you a pair of grills. Otherwise, that is what I will be doing for the next few days ;-)
With many of these projects, I am asked if I will be selling these parts. No. I have too many other projects. Of course, if you would like to install the hydraulics on the tractor for the new backhoe, I'll make you a pair of grills. Otherwise, that is what I will be doing for the next few days ;-)

 RSS Feed