RUSS' OLD RADIOS
  • HOME
  • FOR SALE
    • CURRENTLY AVAILABLE
    • DO IT YOURSELF SPECIALS
    • EXCEPTIONAL DEALS
    • WITH MP3 PORTS
  • RESTORATION
  • BLOG
  • BEFORE/AFTER
  • CONTACT US
  • UNIQUE RADIOS
  • 1920'S Superheterodyne

Scott Phantom

12/30/2019

6 Comments

 
Picture
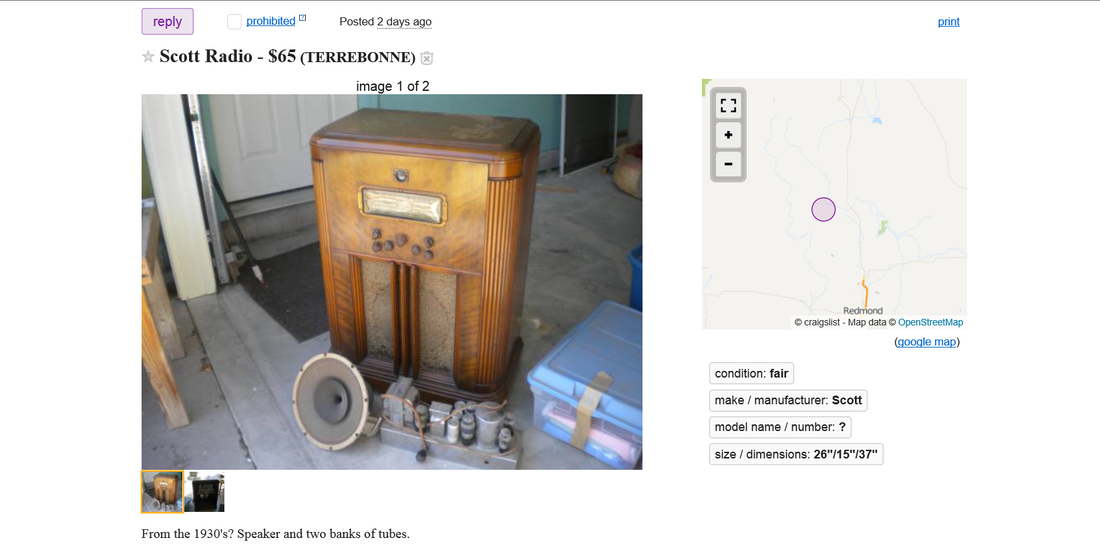
CL ad,       Only a couple of hundred miles away. To the Radio Rescue Vehicle Robbin - er, ah, Sue!
Picture
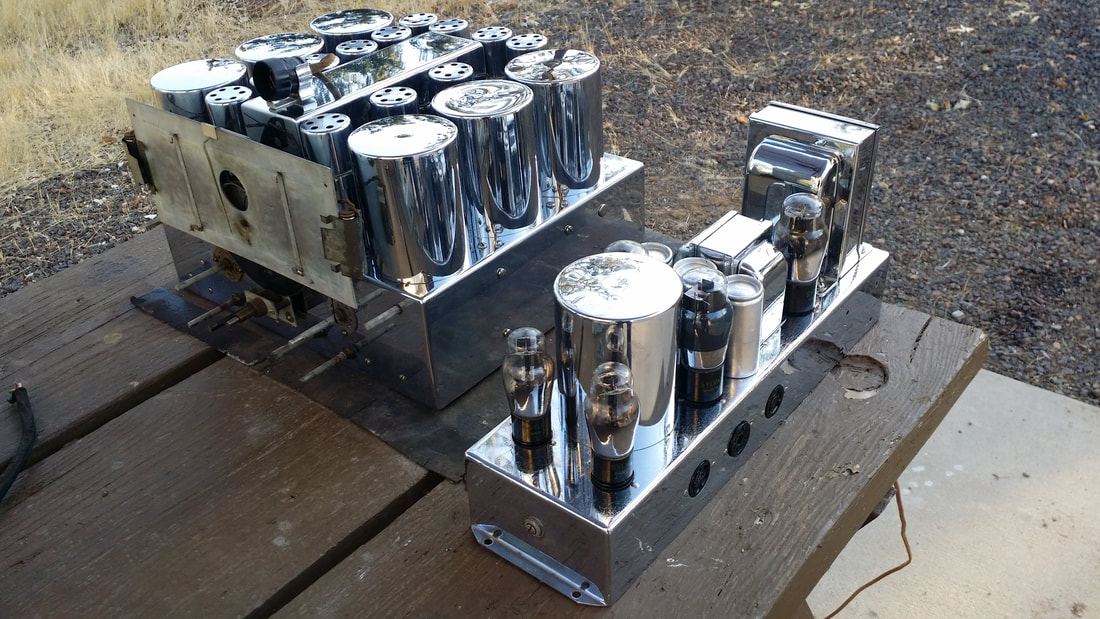
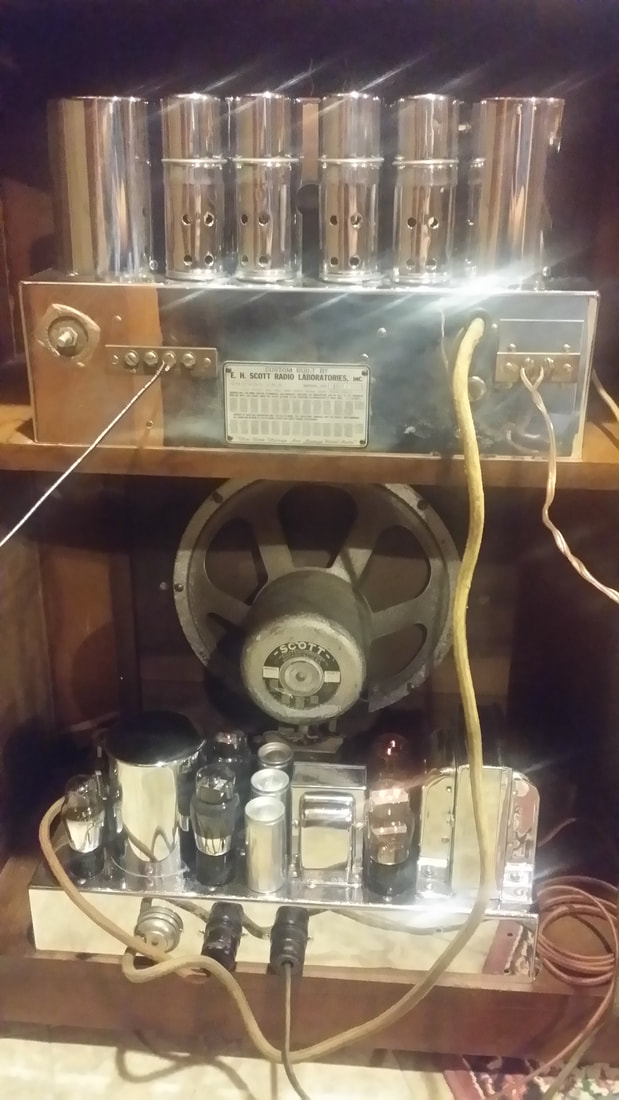
Seems that there are several Scott Phantom versions including the Phantom Deluxe and the FM versions. This is the 18 tube variety without FM.
Picture
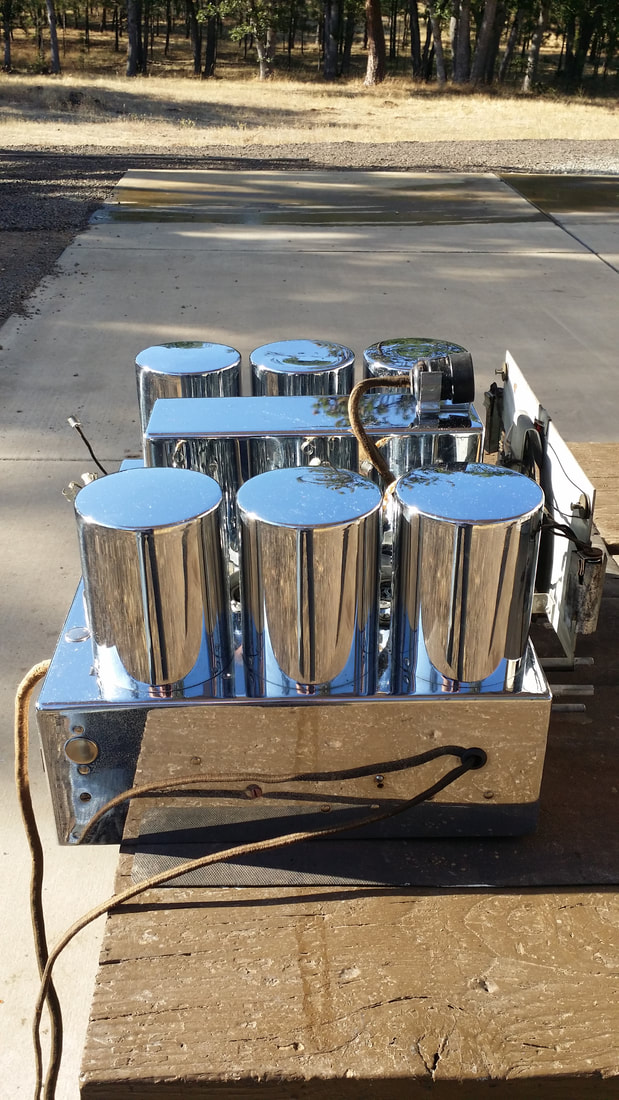
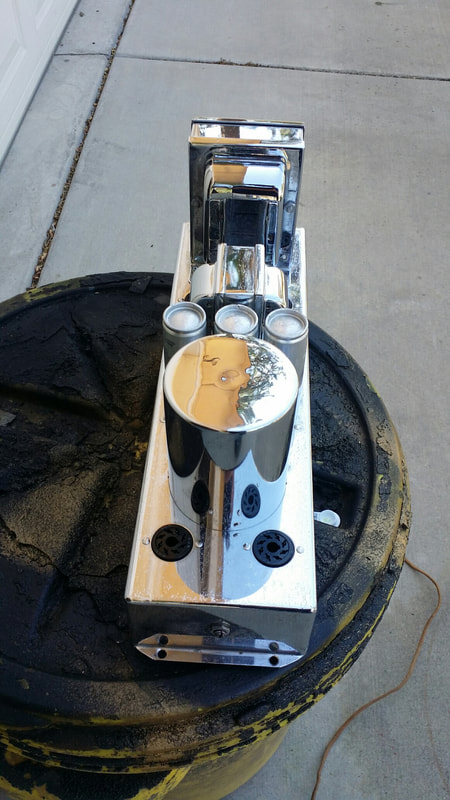
Probably the first thing people notice about Scott radios is the chrome - or the tubes or the - - -. Anyway, the chrome on this one was a solid 9 out of 10.
Picture
If one of these has a lot of rust or, more often, flaking chrome the cost/difficulty of restoration increases exponentially.

SEE:     ​https://www.russoldradios.com/blog/77-chrome-plated-rivets

Picture
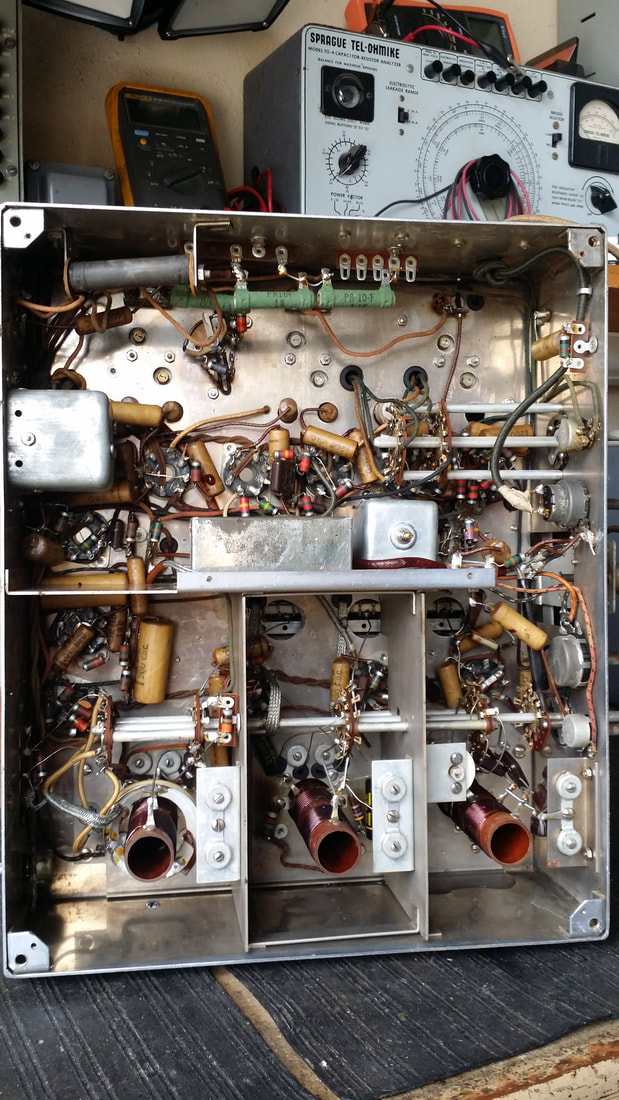
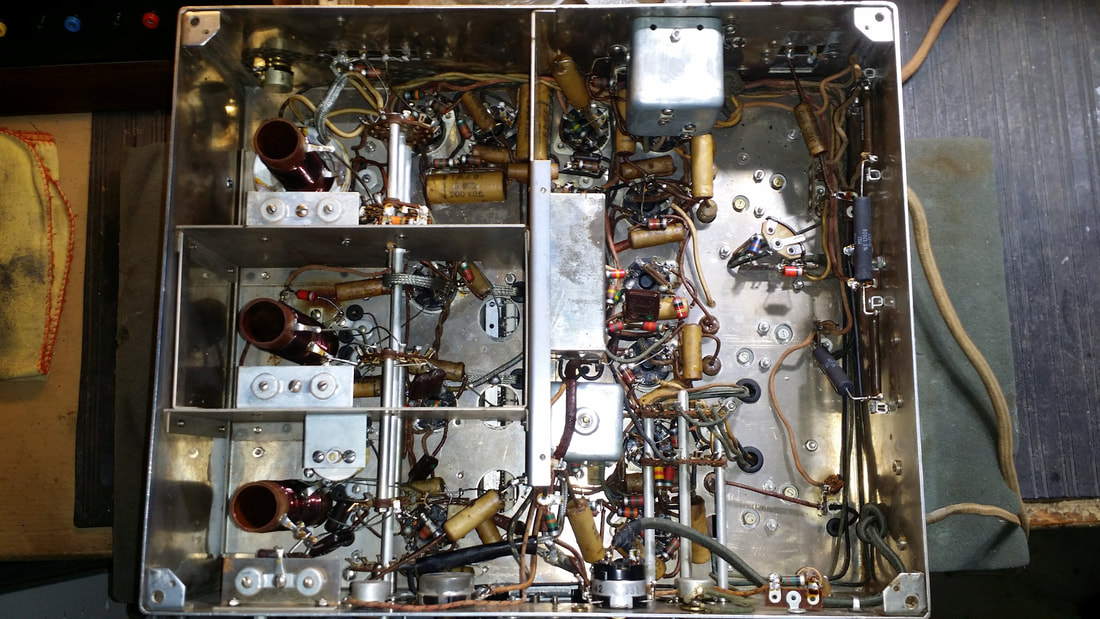
As Found - In mostly original shape - only what's going on with that Candohm (top)?
Picture
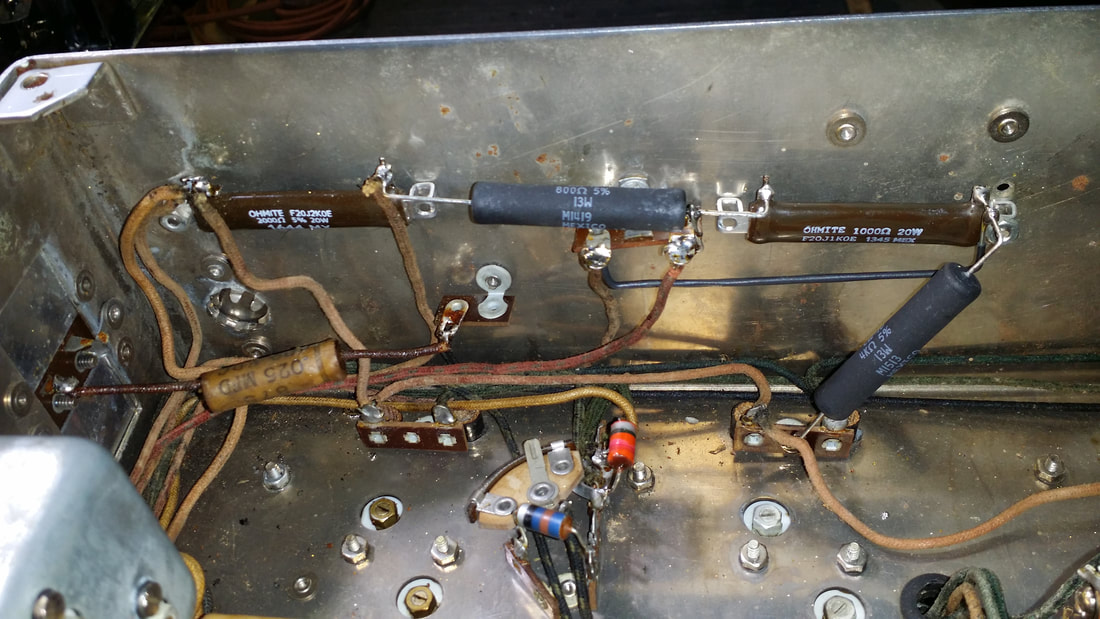
I used 2 of the new chassis-mount Ohmite wire-wound resistors for the replacement of the missing voltage divider (brown). Yeah, they are at a little bit of an angle since the new assembly could not use the holes for the original Candohm and I am reluctant to drill any new holes.

I am happy to see a manufacture making resistors of this type. The only drawbacks are the cost and limited resistance values, which is why I had to use 2 wire wound axle resistors in the assembly.
Picture
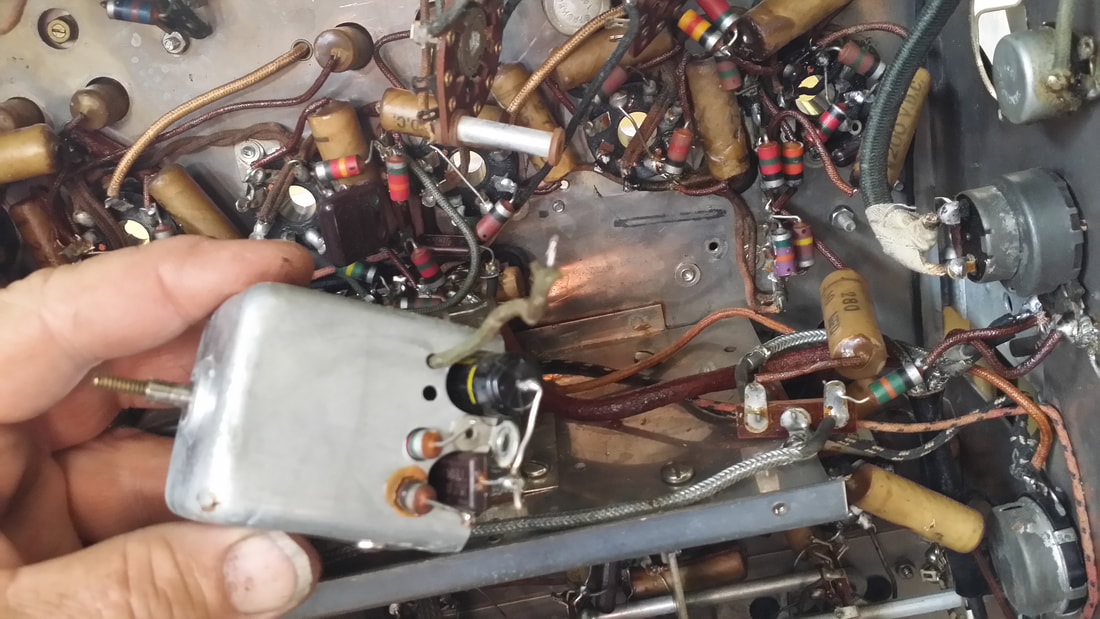
Some of the caps are really hard to get to/service. This transformer is following the 3rd IF tube prior to the 6H6 Detector.
Picture
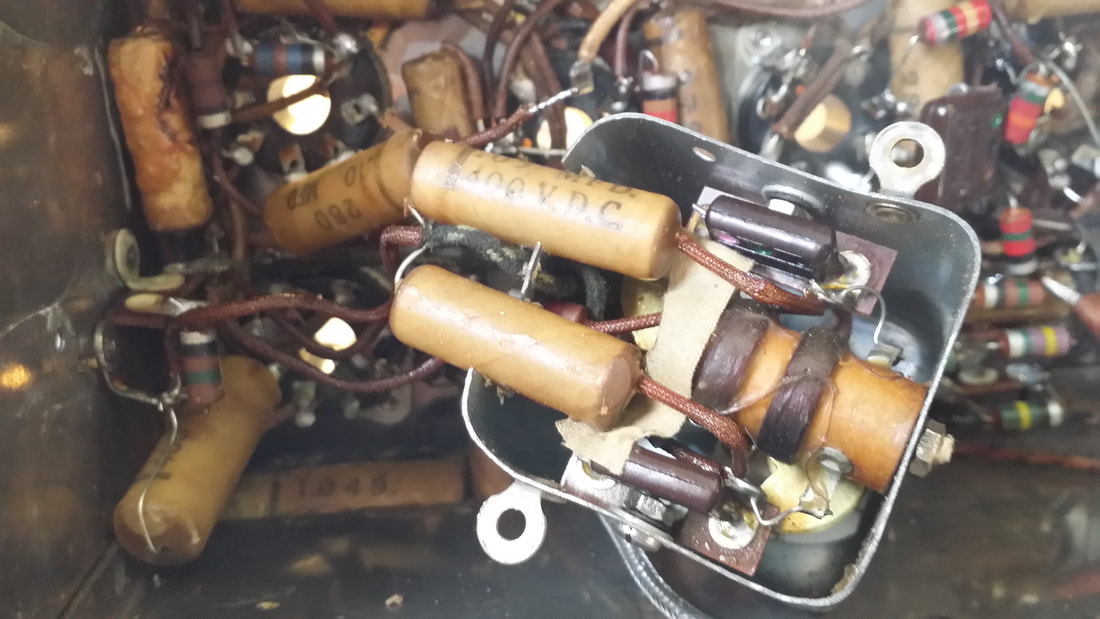
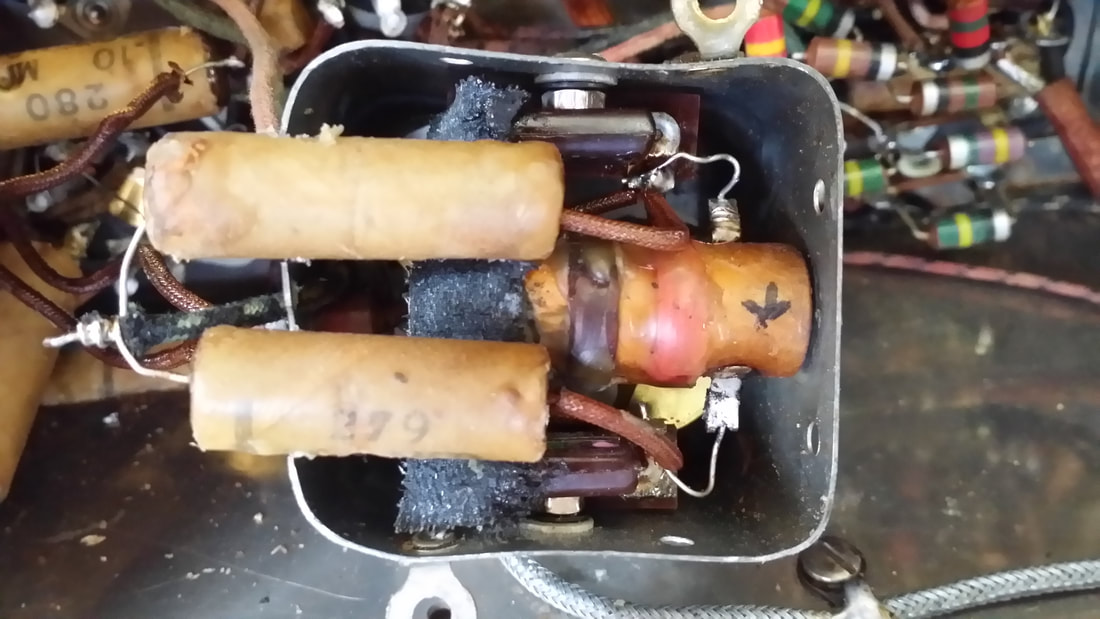
This is the transformer Associated with the RF AVC 6B8G . It is also hard to service and in this case a real pain since one of the windings was open. The only real option is to remove and repair the whole assembly.
Picture
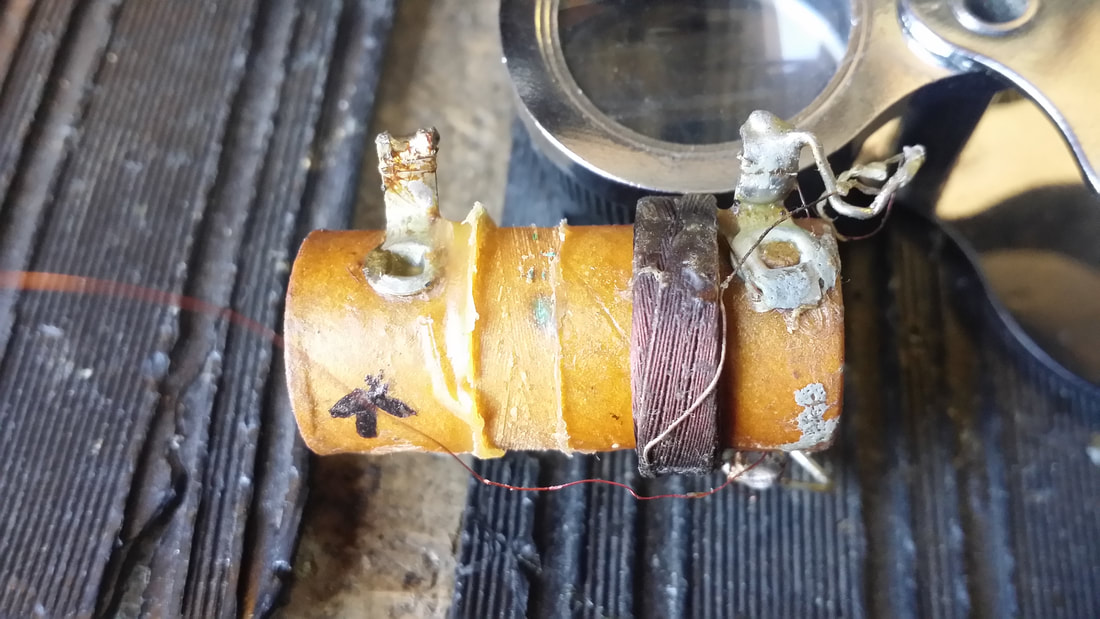
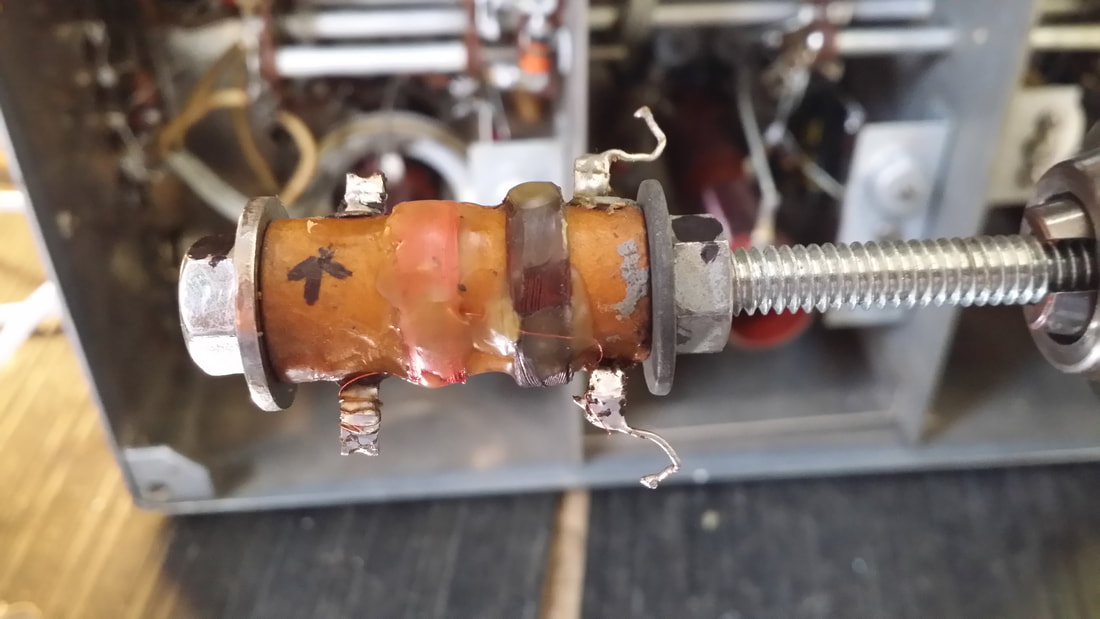
I counted the number of windings as I removed the old coil and replaced it with the same number of turns. The old windings were not burnt. See the little green stain on the form (center where the coil was removed)? This corrosion of the copper wire was found in multiple locations while unwinding the failed coil.
Picture
Since I could not wind the new coil with the same basket technique as the original I measured the inductance of the original and matched it by removing a couple of turns on my new winding. Important: note the direction of the turns (arrow). As I recall, This coil was less than 60 turns.
Picture
Caps restuffed and ready to reinstall.
Picture
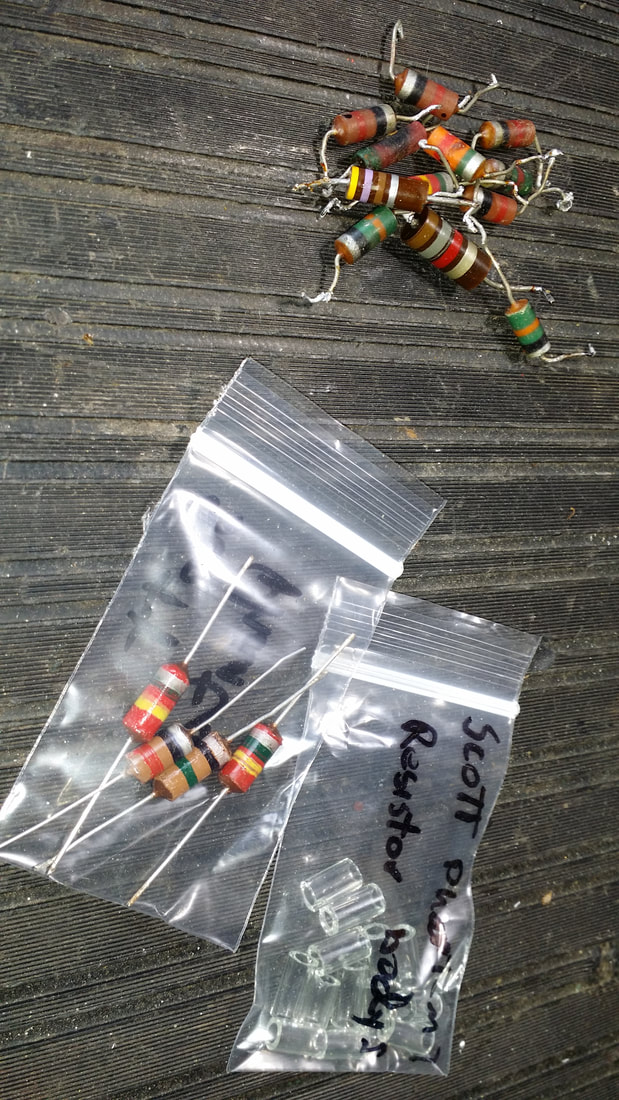
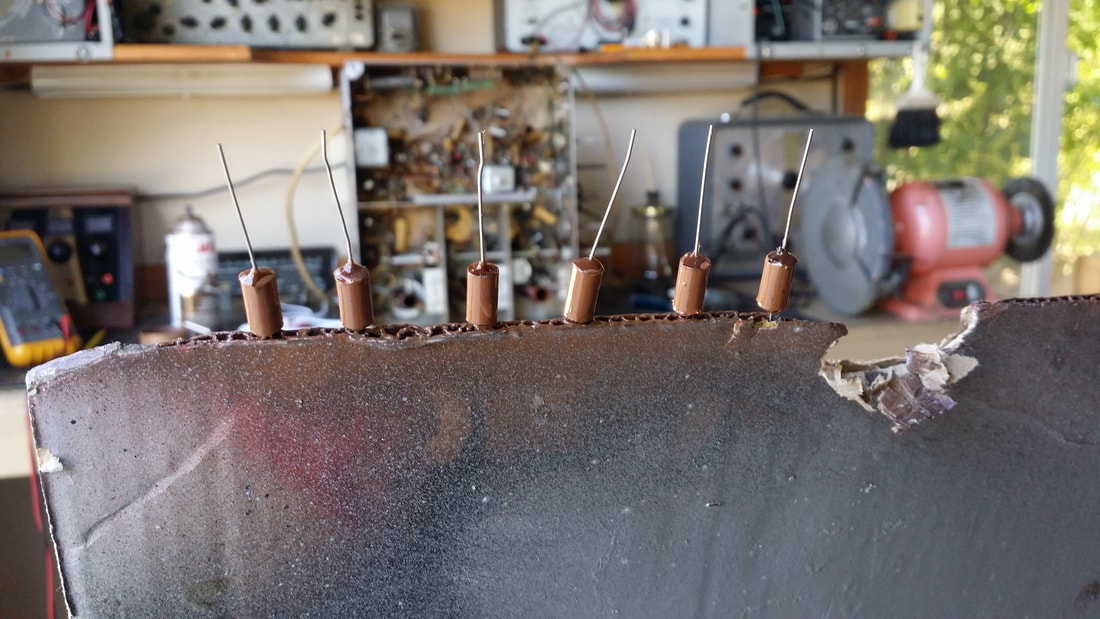
There were quite a few of the original carbon resistors that were out of spec.  So I made some replacements using modern equivalents (or greater wattage) potted into glass tubing. The hard part is painting the bands which indicate the resistance.
Picture
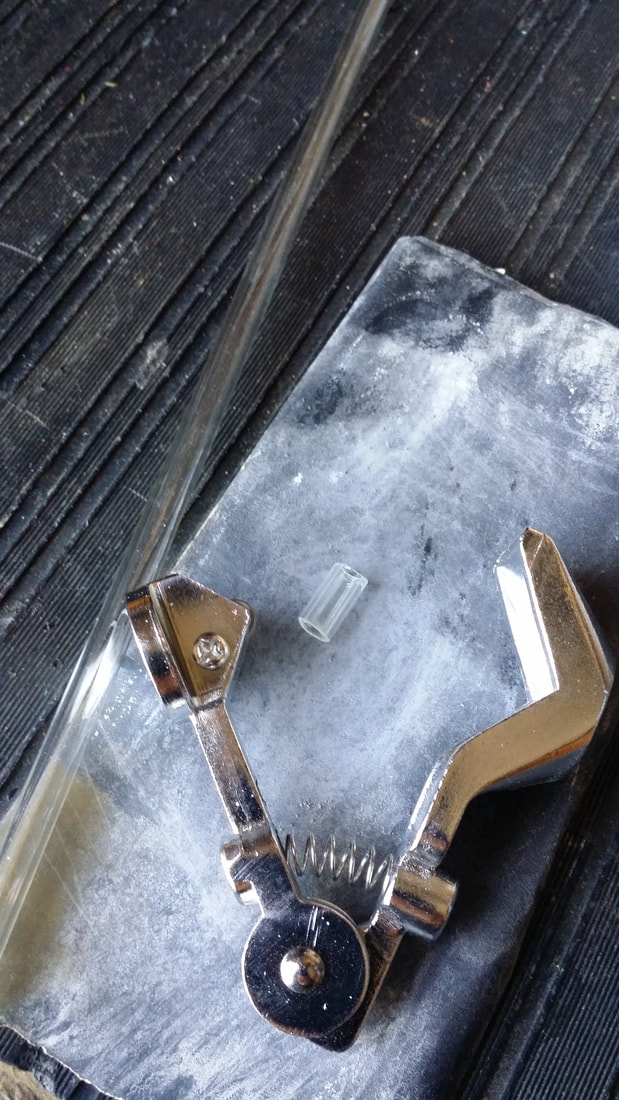
Glass tubing and a  cutter.
Picture
Picture
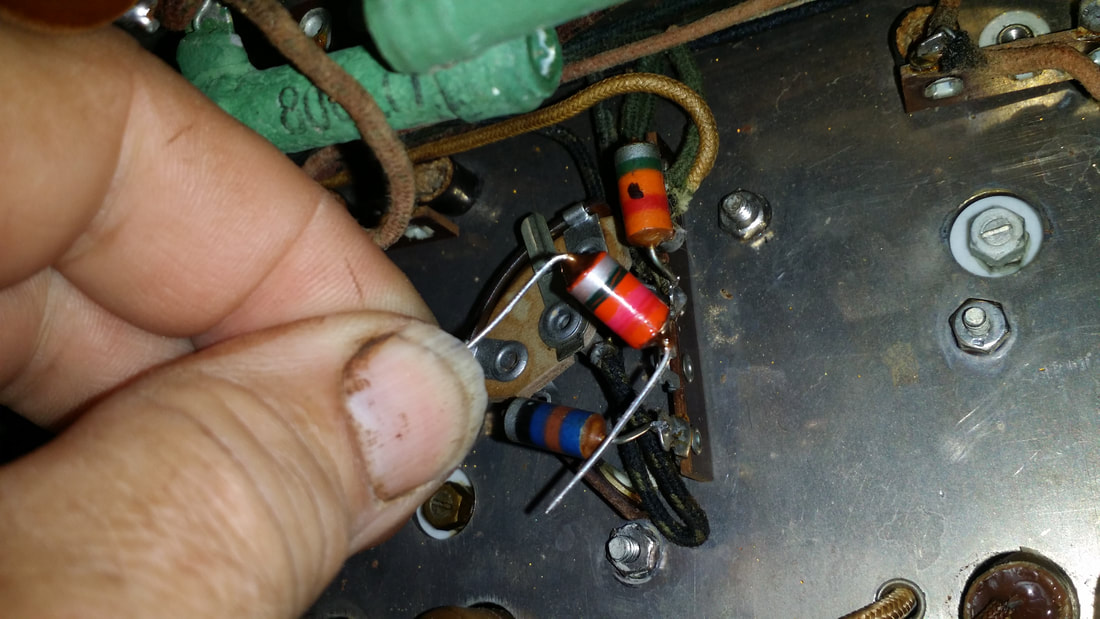
I mark out of tolerance resistors with a black dot as I do the initial survey - replacement in hand.
Picture
Parts replacement finished, time for alignment.

As I started the alignment I noticed audio levels were lower than I expected. I thought it would improve as I proceeded - it did not.

OK! Everything looked good. All voltages were correct and the alignment results were as expected only with little improvement in audio level AND now that I could drive the output harder (following alignment), there was some serious distortion particularly in the bass response.

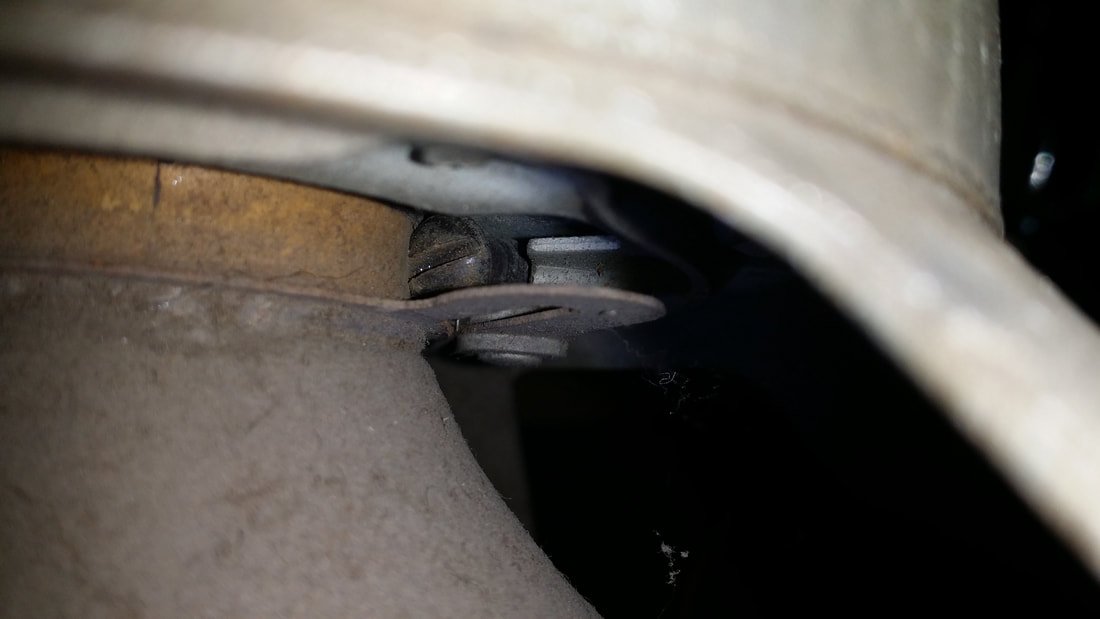
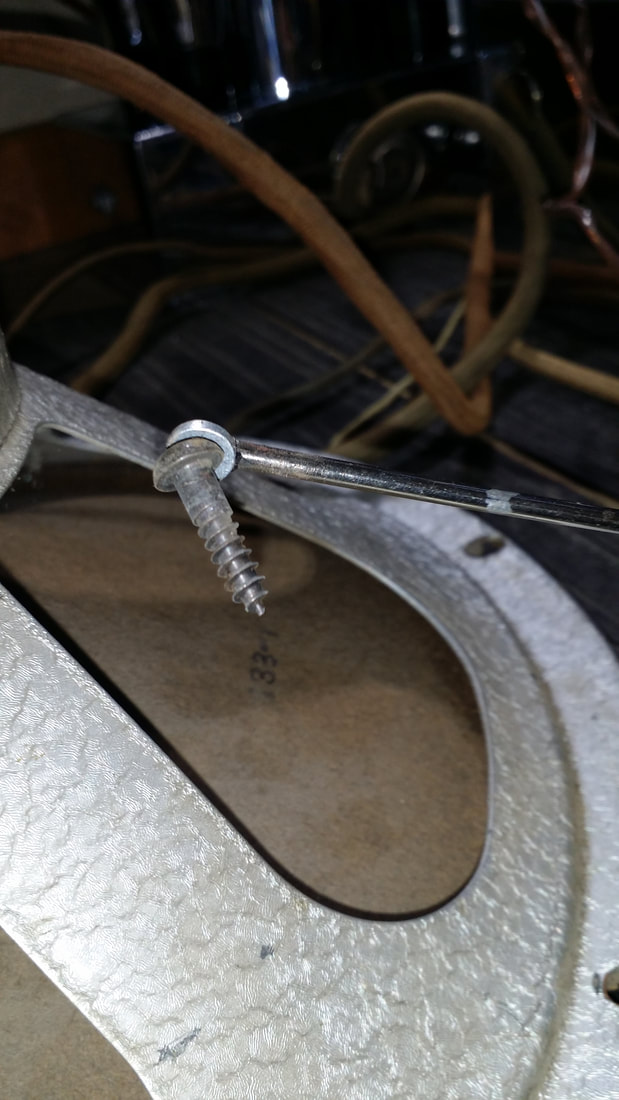
You all know Occam's razor - If the speaker sounds bad, maybe it's the speaker. Well, it didn't hurt to check everything else first, but it was the speaker. Not a bad cone or transformer. No, it as much more simple. The voice coil former had been screwed - more precisely, there was a screw lodged between the former and he frame.
Picture
The culprit - a wood screw. 

This screw seems to be of about the same vintage as the radio. It had been lodged here for long enough that it had made a wear-mark or dent in the coil form. It makes me wonder if the original owner had ever heard this radio working as it should.
Picture
Spending most of a day finding a needle in a haystack, but a big improvement. 
Picture
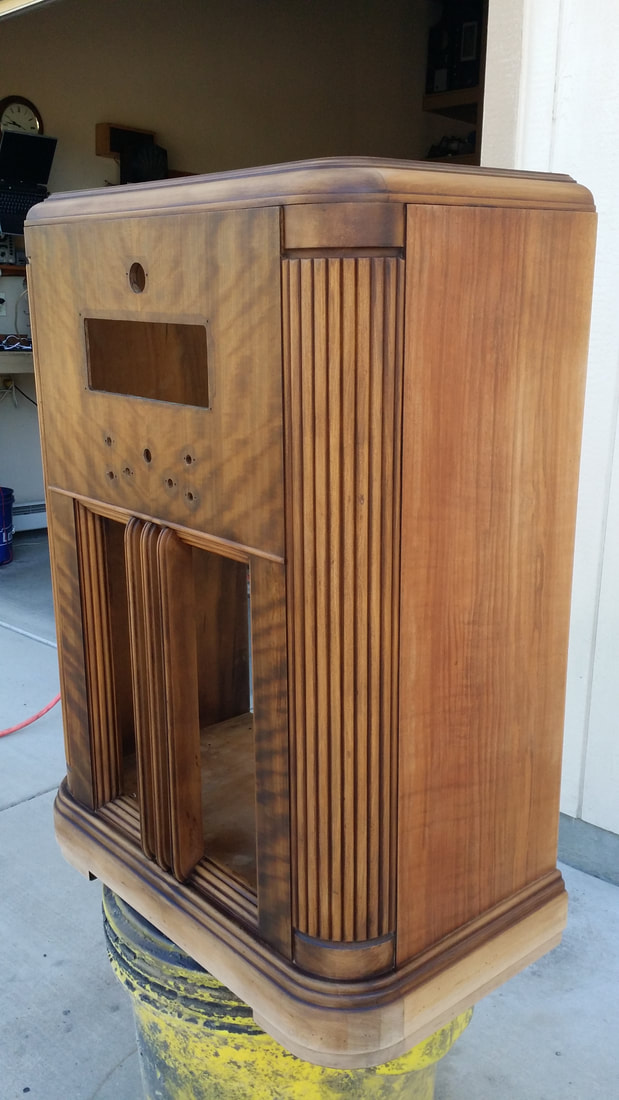
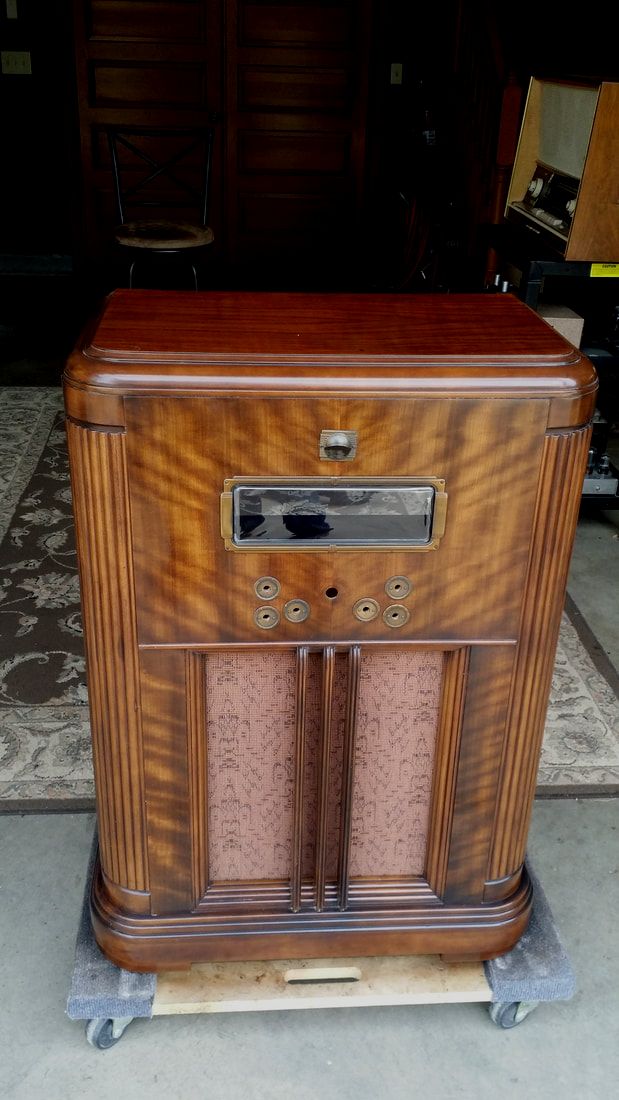
Bramar cabinet with the old finish removed. As with the chrome chassis, the cabinet was in really good shape, but, as with most things stored in a garage for years, the finish was poor.
Picture
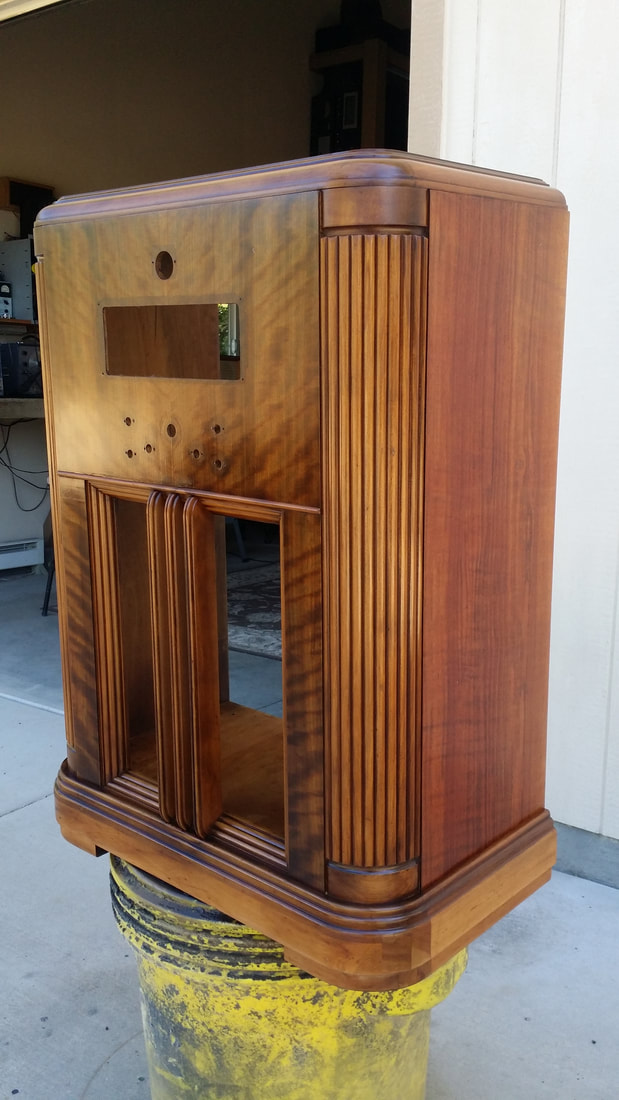
Sealer applied.
Picture
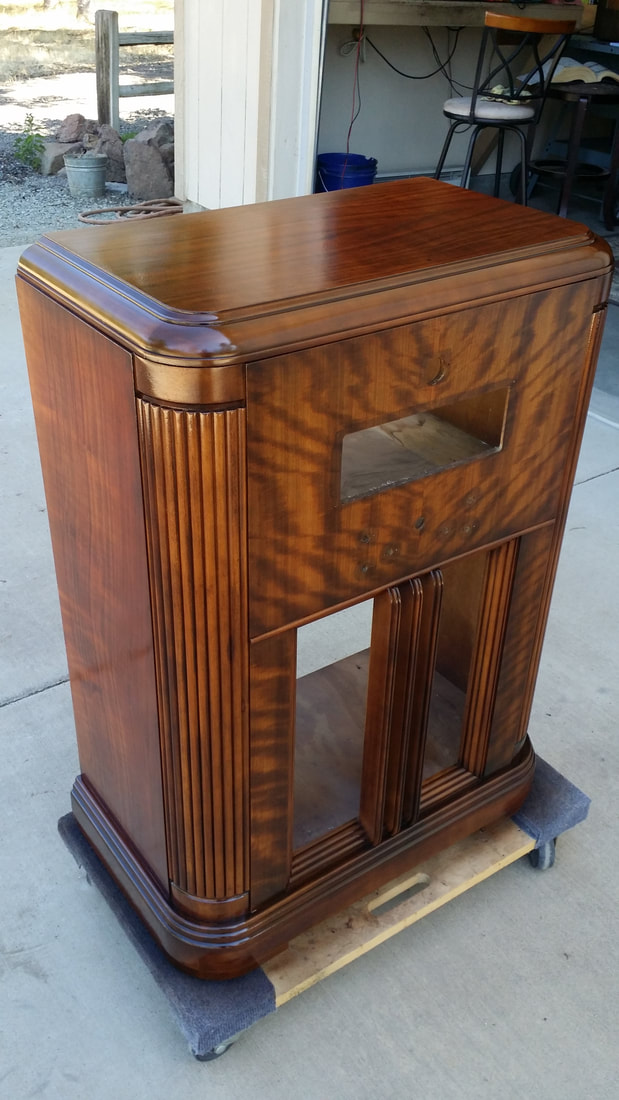
Toner added and the first topcoat. There are many versions of this cabinet as well as at least two finishes. One type has more toner for a darker finish. This is the lighter variety.

A darker version can be seen here:    ​https://www.russoldradios.com/blog/77-chrome-plated-rivets
Picture
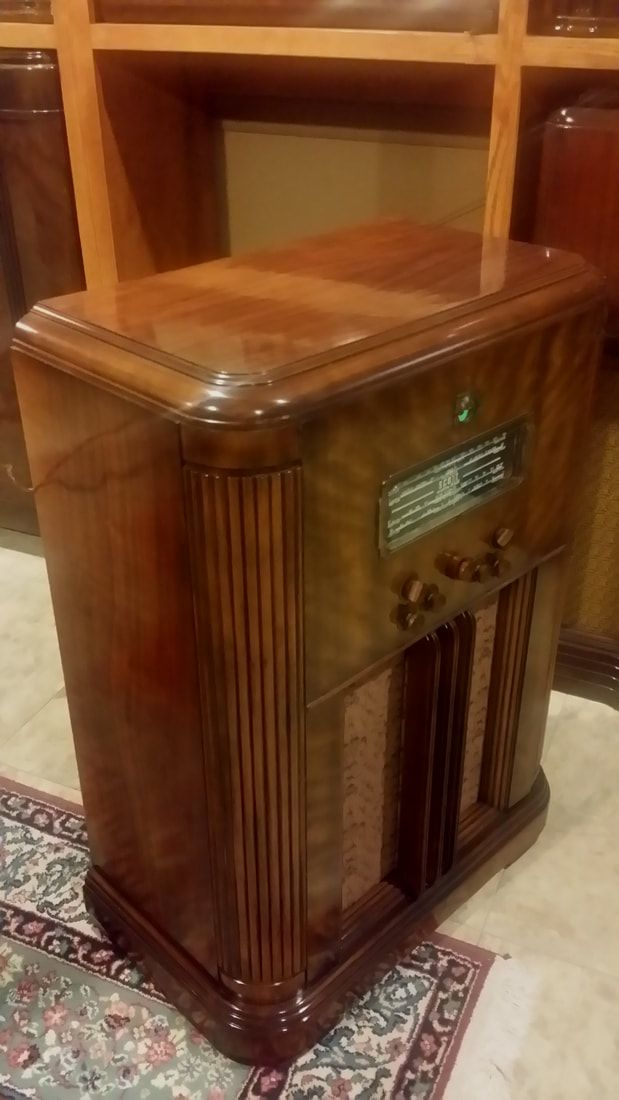
New grill cloth which is the old Grill Cloth HQ pattern (no longer available) and a new dial cover/lens which I fabricated on site.
Picture
Almost makes you want to place the front side against the wall.
Picture
..
6 Comments
Arran
1/3/2020 01:26:07 am

Other then the chrome those Phantoms are kind of nondescript for a relatively high end radio aren't they. Even the dial scale is kind of ho-hum, it reminds me of some of my Sparton radios from the early 40s with plain white marking. However the cabinets on those have some figured walnut veneers, maybe because they were Canadian made perhaps.

Reply
Russ
1/5/2020 08:46:49 am

Good observation, but consider, this type of dial was a new development over the circular dials used for the previous 10 years. It was so popular that almost everybody adopted that type of dial. So at the time it was much more edgy, becoming common over the next 40 years.

This radio is one fine example - but it is sitting right next to an operational (plugged in) MSM V, which makes for a convenient comparison.

Reply
Arran
1/10/2020 01:11:08 am

Slide rule dials seem to have debut around 1937-38 for the most part, which is when the Phantoms came out I think. Come to think of it even the Philharmonic models seemed to have monochrome dials. Whether this was some sort of cost saving measure, like the flash plated chrome, or just an exercise in conservatism is the question. However the cabinet seems to be along much the same lines, if we didn't know that it was housing a Scott radio one could mistaken it for a Airline console.
On the Spartons sets I have it is actually sort of odd that they went for all white dials given the fancy ones they had of just a few years before, as most of their competitors on the Canadian market had multicolored scales. They are not in the same league as Scott sets, but they still have a TRF amplifier stage, and three IF amplifiers. Sort of ho-hum in the audio amps, 6F6s in push-pull, more then adequate to fill the room but not real thumpers since they only have about 230 volts on the plates.

Joe Koester link
6/12/2021 09:46:01 am

Russ, I enjoy your web site and like the pictures and restorations. We just finished aligning a Phantom AM/FM version and adding the tweeters, crossover network (which I only recently obtained), and other 12-inch speaker. Also got a nice converter which allows tunable reception on the old FM band. I hope to write this up in a future issue of Radio Age. So now this radio, which is in a Warrington cabinet, has been converter to Scott's High Fidelity version and it sounds super! Would you like a couple of pictures?

Reply
Russell Webb
12/1/2022 08:15:37 am

Sure!

Reply
Anthony B Faraci
11/27/2022 04:35:16 am

Amazing on coil repair. My Grunow Teledial discriminator transformer primary is open. I am interested in your comments on how to rewind and wire requirements. Thankyou

Reply


Leave a Reply.

    Author

                         Russ Webb

    Picture
    Russ Webb & Fuzzy

    Best Buddy, Radio fixer


    Categories

    All
    All
    Antiques
    Electronics
    Radios
    Repair
    Restoration
    Travels
    Vintage

    RSS Feed

    Archives

    March 2023
    November 2022
    October 2022
    July 2022
    January 2022
    December 2021
    September 2021
    June 2021
    April 2021
    February 2021
    January 2021
    November 2020
    July 2020
    June 2020
    April 2020
    March 2020
    December 2019
    October 2019
    May 2019
    April 2019
    March 2019
    February 2019
    January 2019
    December 2018
    November 2018
    October 2018
    September 2018
    June 2018
    April 2018
    March 2018
    February 2018
    January 2018
    December 2017
    November 2017
    September 2017
    June 2017
    May 2017
    April 2017
    February 2017
    December 2016
    November 2016
    October 2016
    September 2016
    August 2016
    July 2016
    June 2016
    May 2016
    April 2016
    March 2016
    February 2016
    January 2016
    December 2015
    November 2015
    August 2015
    June 2015
    May 2015
    April 2015
    March 2015
    February 2015
    January 2015
    December 2014
    November 2014
    October 2014
    September 2014
    August 2014
    July 2014
    June 2014
    May 2014
    April 2014
    March 2014
    February 2014
    January 2014
    December 2013

CUSTOM DESIGN BY SUE WEBB  06/2013       Redesigned by Russ Webb     Approved by Fuzzy   Updated:  Pretty much all the time, but I forget to change this date
Proudly powered by Weebly
Photos used under Creative Commons from valart2008, rafeejewell