
- - "Just throw away the turkey." YUM!!
Speaking of turkey, take a look at this one.
Speaking of turkey, take a look at this one.
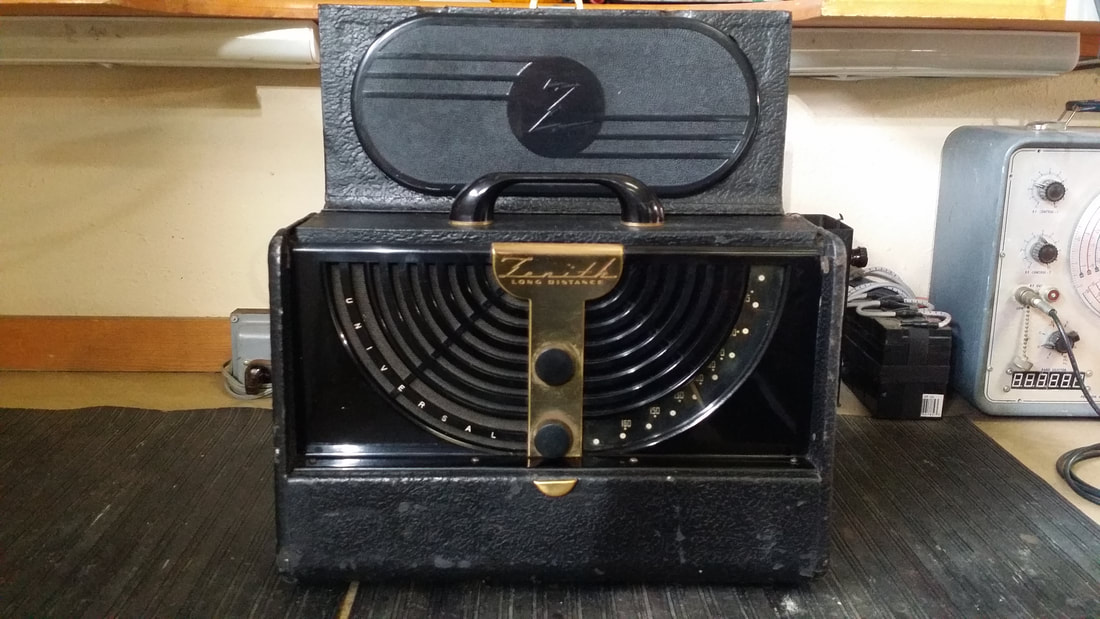
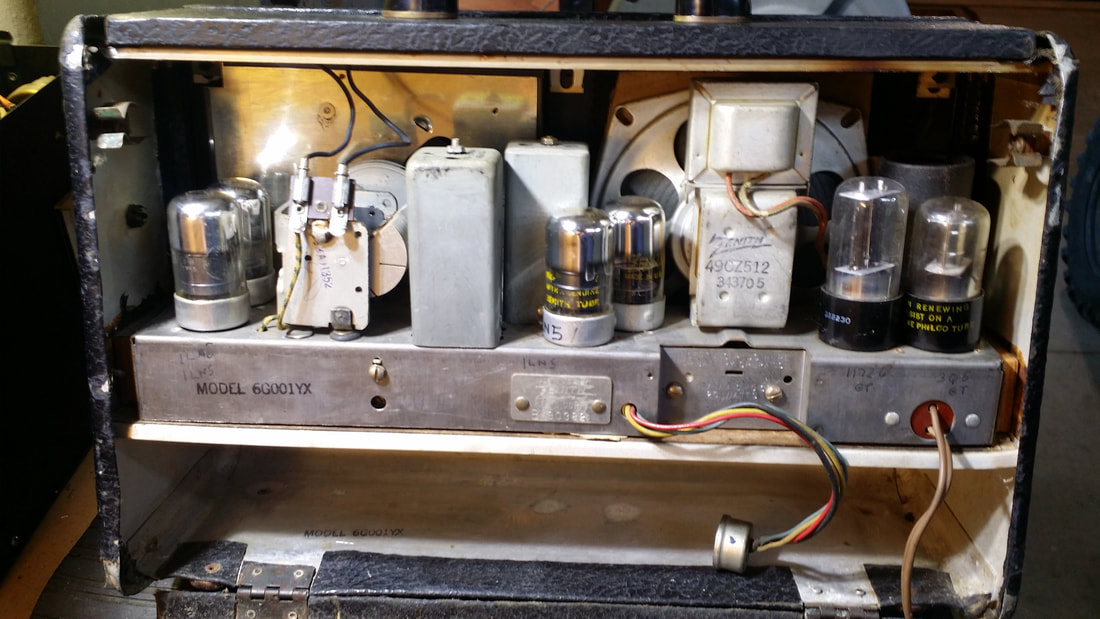
This is a 1946 Zenith "Universal" or "Wavemagnet" set that is a close relative to the TOs discussed below. It is the YX version (6G001YX) which is black vinyl covering an aluminum cabinet. The majority of these came with a wooden cabinet which I prefer, but, none the less, this is an unusual model deserving restoration.

Above: As Found
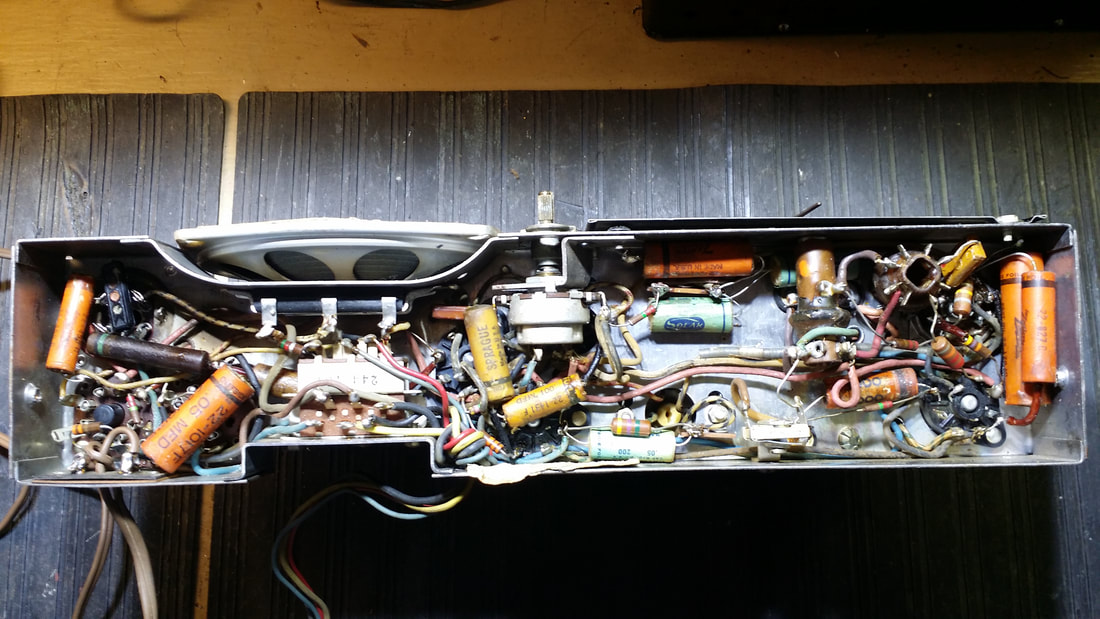
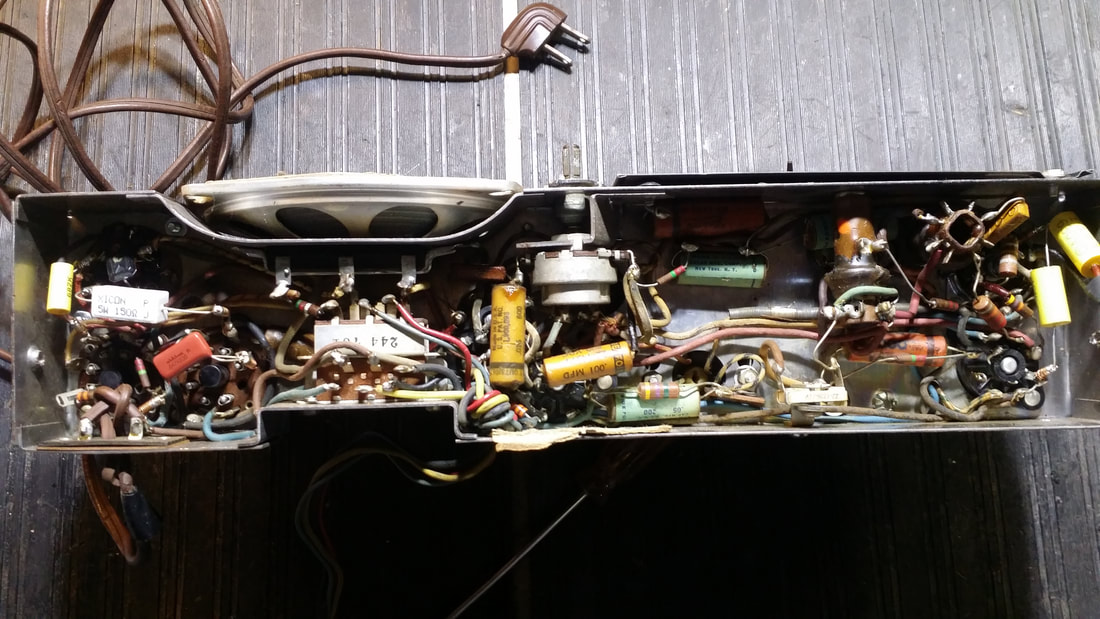
This chassis worked but the audio was low, there was an intermittent crackling in the audio and the antenna seemed to be ineffective at best (loss of gain in RF stage). It had been about 1/2 recapped.
This chassis worked but the audio was low, there was an intermittent crackling in the audio and the antenna seemed to be ineffective at best (loss of gain in RF stage). It had been about 1/2 recapped.
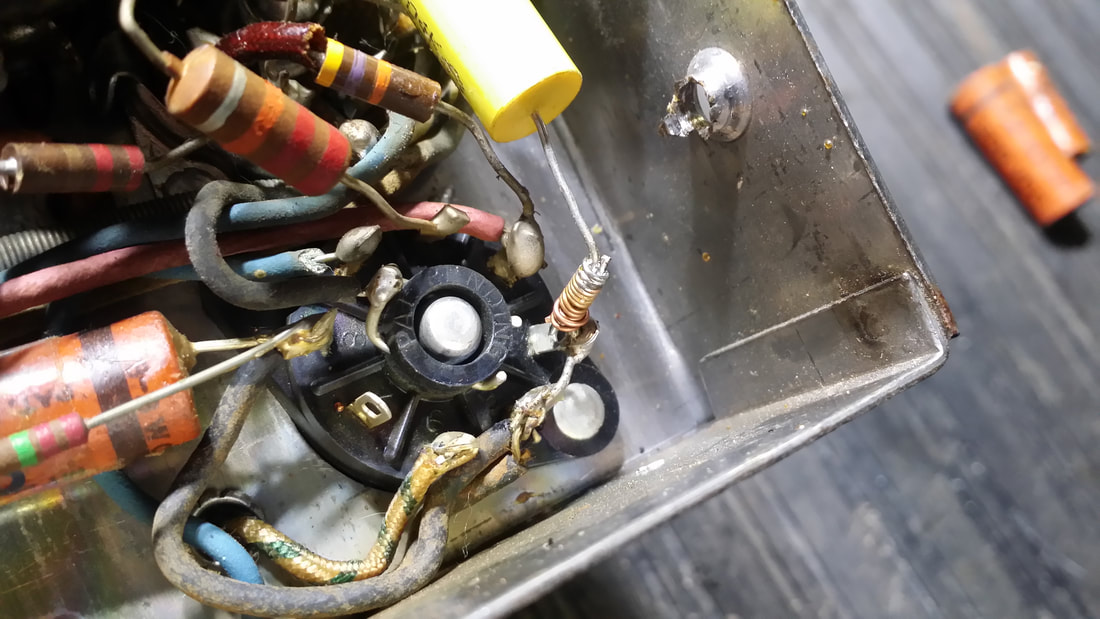
The repair incorporated a lot of these twisty-splices. They are similar to some splice/repair aids sold around the same time as the radio's manufacture, though these are home-spun. The idea was OK if "getting it working" is the primary concern, but, the one above, and many of the others could have used some more solder. Mostly, they just add to the unoriginality advertised by the "yellow caps".
Note the Zenith cap barrels on the bench to the right. They were pulled from my replacement stock and will be used to replace the yellow caps.
Note the Zenith cap barrels on the bench to the right. They were pulled from my replacement stock and will be used to replace the yellow caps.
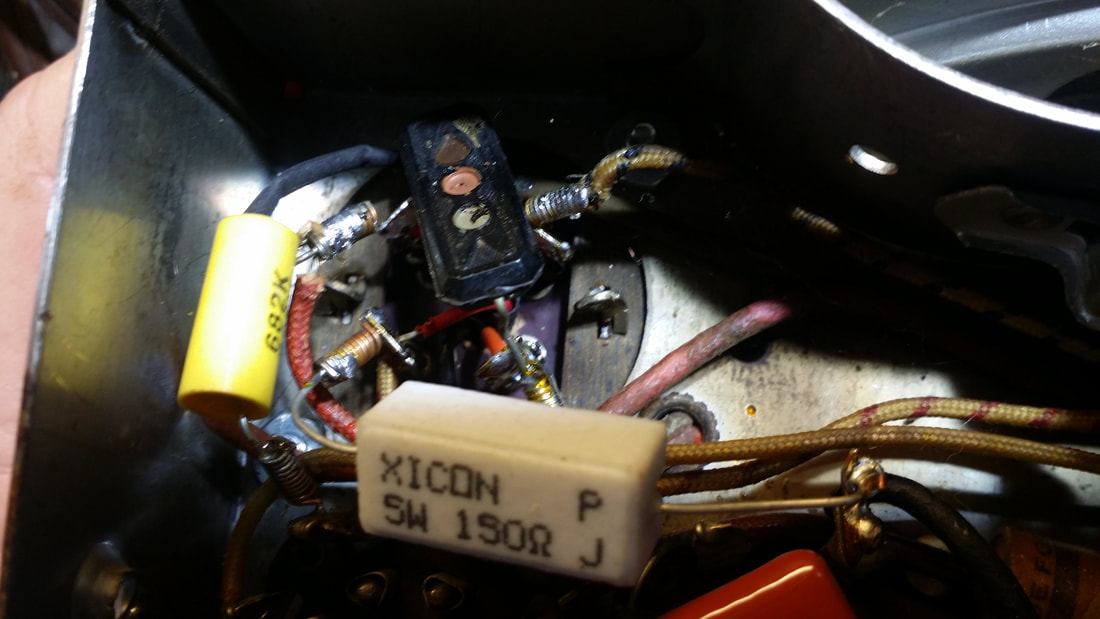
The filter(s) can had been restuffed, but incorporated more twisties and rather than making a direct connection to the posts, the electrolytic caps had been spliced to an insulated wire and protruded through a hole in the center of the base. This made for an ugly, busy, repair which also included a new ceramic resistor (5W wire wound, original was 2W).
Most Zenith Chassis are full of orange "Zenith" paper dielectric caps. I would suppose that shortages drove the factory to use non-Zenith labeled caps at times. I would say that there is about a 99.9% chance that these are original since lead dress was exactly like the Zenith labeled caps.
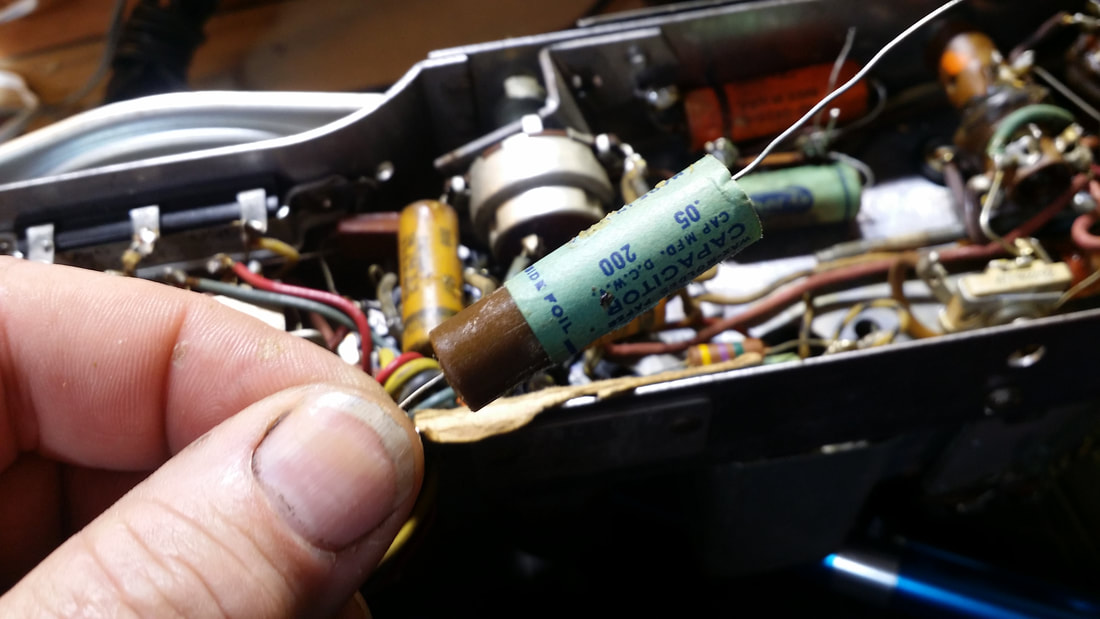
I can almost visualize the meeting where engineers at Solar concluded that burying their paper dielectric caps DEEP in a wax body would prevent moisture from intruding into the paper, which caused failures. It didn't help. They still fail at about the same rate as the orange caps though the leakage might be a little less.
What is for sure is that restuffing one of these is a challenge. There is a paper label but it is not strong enough to be used like the cardboard tube of the orange ones. In earlier restorations, like the Westinghouse refrigerator, I carefully cut and extracted the original cap from the wax, but only succeeded about half of the time. There has to be an easier way, and there is - -
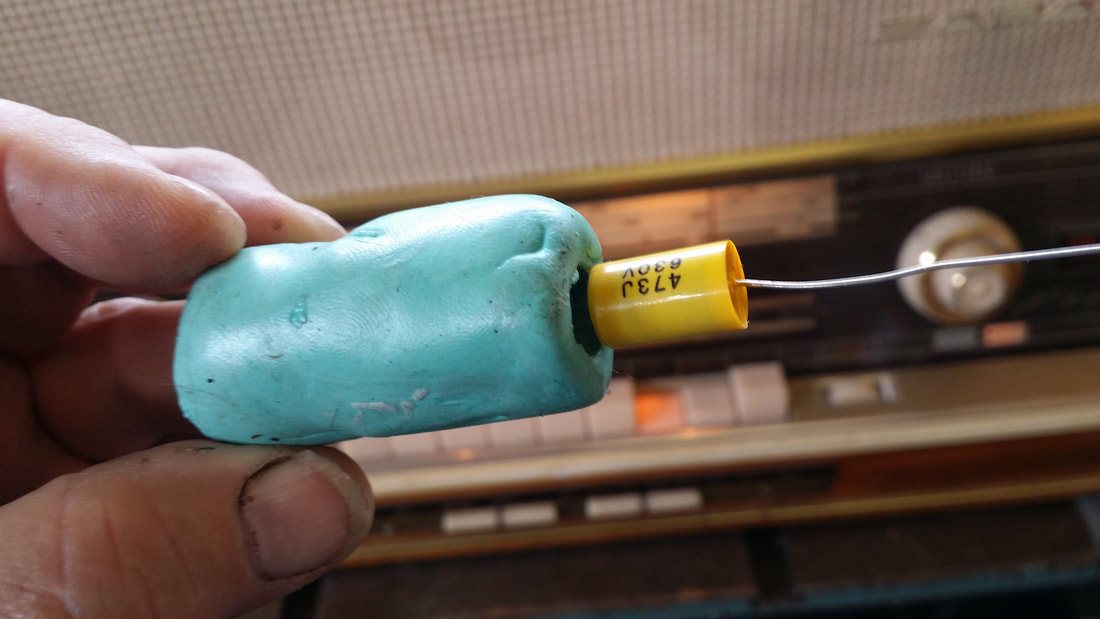
Above: the first step - remove the original label. About 3/4 of them will slide off with no trouble.
Below: Use 2-part molding putty to make a mold from the original cap (paper label removed first).
I can almost visualize the meeting where engineers at Solar concluded that burying their paper dielectric caps DEEP in a wax body would prevent moisture from intruding into the paper, which caused failures. It didn't help. They still fail at about the same rate as the orange caps though the leakage might be a little less.
What is for sure is that restuffing one of these is a challenge. There is a paper label but it is not strong enough to be used like the cardboard tube of the orange ones. In earlier restorations, like the Westinghouse refrigerator, I carefully cut and extracted the original cap from the wax, but only succeeded about half of the time. There has to be an easier way, and there is - -
Above: the first step - remove the original label. About 3/4 of them will slide off with no trouble.
Below: Use 2-part molding putty to make a mold from the original cap (paper label removed first).
When the putty sets-up, pull out the original cap body. Throw it away. The wax used on the original is hard to melt to a liquid state and cools way too fast. I used some wax from another project. The only complaint is that I would have preferred it to be a bit darker brown.
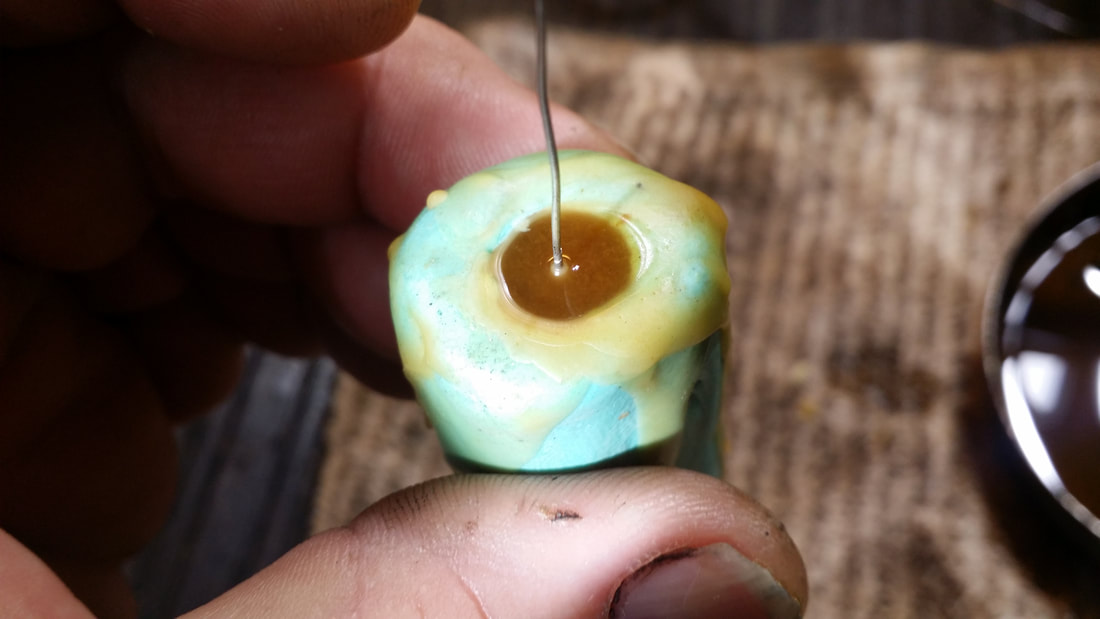
Unseen is the small hole at the base of the mold from which the wire lead emerged. To fill the mold first place the new cap so that it's lead penetrates this hole, but allows an opening to pour the new wax. (trying to locate the hole with the tube full of hardening wax is a bad idea) Melt the wax - I set a metal pan on the shop wood-stove for a minute.
Unseen is the small hole at the base of the mold from which the wire lead emerged. To fill the mold first place the new cap so that it's lead penetrates this hole, but allows an opening to pour the new wax. (trying to locate the hole with the tube full of hardening wax is a bad idea) Melt the wax - I set a metal pan on the shop wood-stove for a minute.
Don't use bee's wax. It is likely to break apart.
Pour the hot wax into he mold then insert the new cap so that the wax flows aroud it resulting in the new cap being centered in the new wax body. Take care that you do not force a stream of hot wax from the mold. This is likely to happen as the diameter of the new cap approaches the diameter of the tube. SO USE CAUTION.
Needles to say, don't try inserting a new cap that is larger than the tube. 400V caps might be desirable as compared to the larger 630V ones. I have asked a couple of the bulk vendors for availability of the smaller 400V caps. I will update as I get more information. The lower voltage caps are available through some of the large jobbers but have a prohibitively high cost.
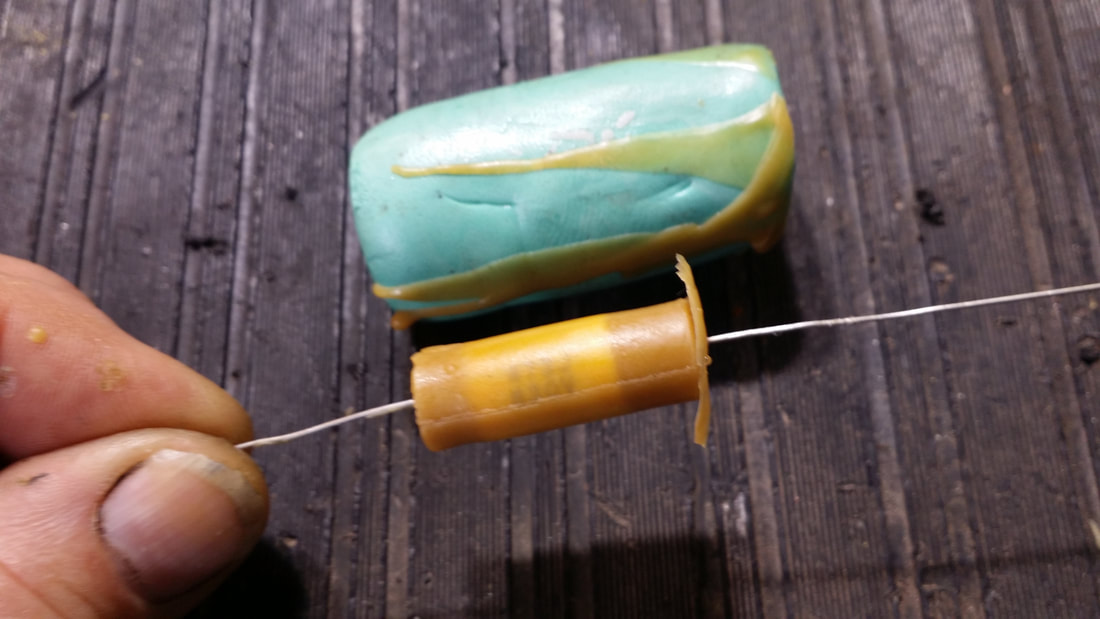
Let the wax cool and pull out the new cap. Trim any flashing.
Install the old label.
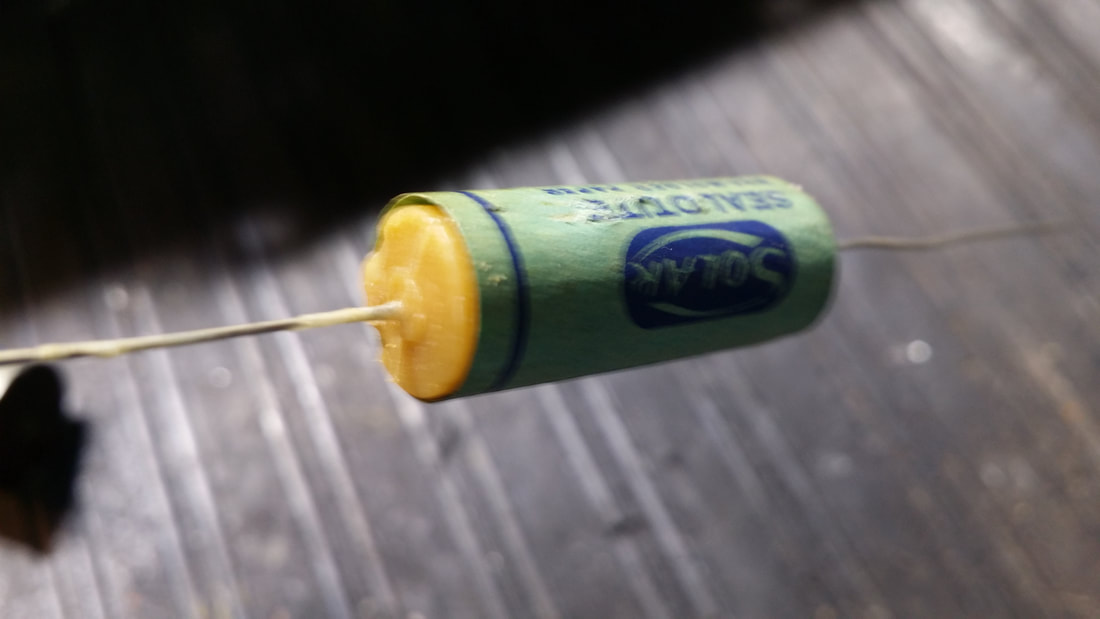
After: Above
Before: Below
Before: Below
The restuffed filter can was rebuilt again and all of the twisties were removed along with the unnecessary wiring. Most of the original rubber insulated wiring was in good shape.
Chassis reinstalled, aligned and ATP.

 RSS Feed